Category: Semi-Homemade
-

Semi-Homemade Vegan Burrito Bowls
Tuck’s dad watched the documentary “Game Changers” on Netflix a few weeks ago and has been trying to eat vegan as much as possible since. Inspired by our usual Chipotle order, we made these tofu burrito bowls. We love the taste and texture of the tofu – it is loaded with spices and crumbled to…
-
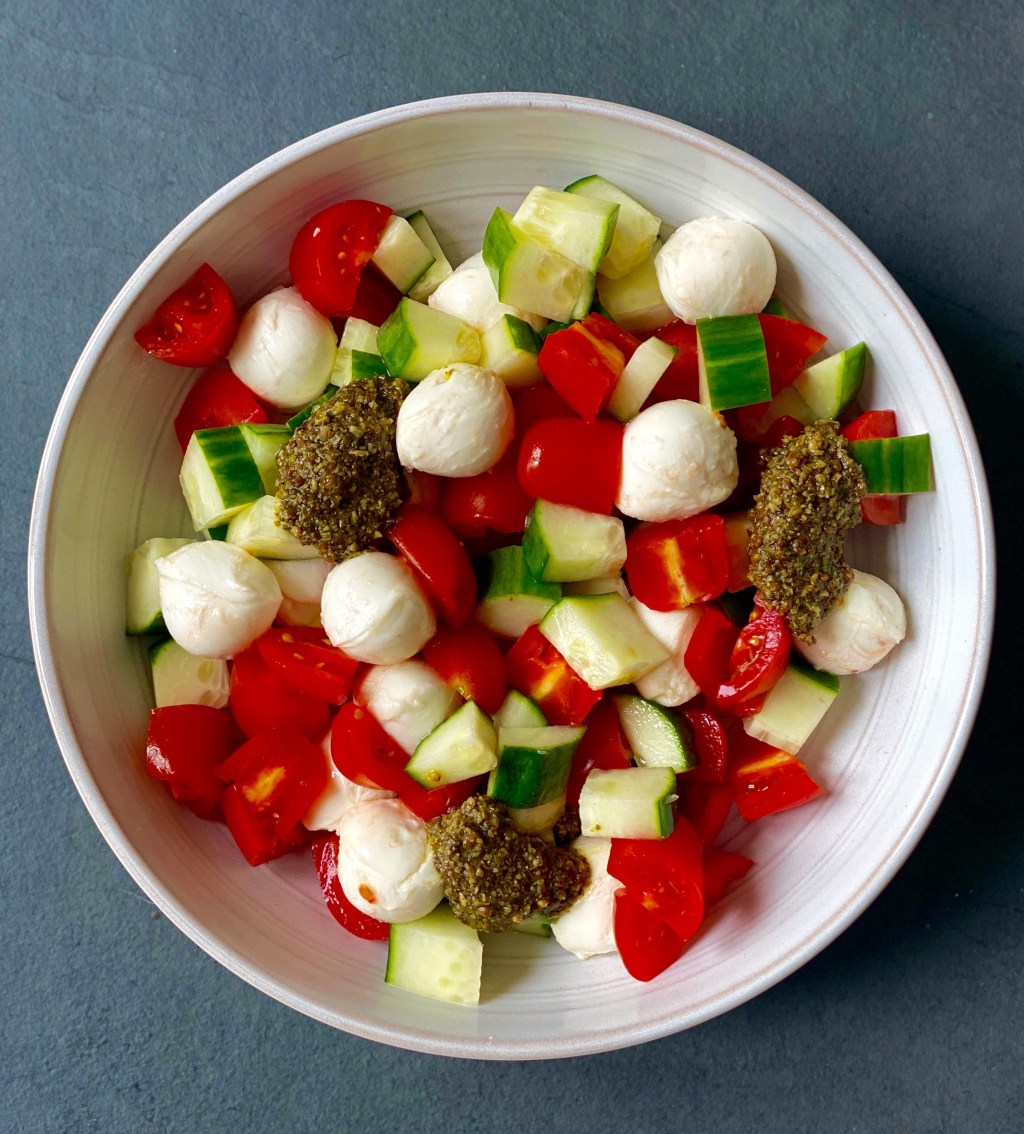
Semi-Homemade Pesto Caprese Salad
This salad qualifies as a “mostly homemade” recipe instead of semi-homemade recipe, it is that easy. Who says cooking needs to be hard?! Simple is the theme with this salad and boy is it delicious. With just a little chopping and mixing you can have a healthy, nutritious, and tasty salad within 15 minutes. We…
-

Semi-Homemade Barbeque Chicken Salad
Lunches can sometimes be one of the hardest things for us to pull together during the week. With juggling schedules, working from home, taking care of the dogs and kids, it is just plain hard right now to pull together good meals! We have brought semi-homemade Monday in to save the day. We leverage rotisserie…
-

Semi-Homemade Southwest Caesar Salad
After two weeks of living together in quarantine, we have come up with a pretty good system for meal planning. While it might seems a little OCD to plan out lunches and dinners every day for four adults, it actually helps cut back on food waste and helps us buy the minimum amount of groceries…
-
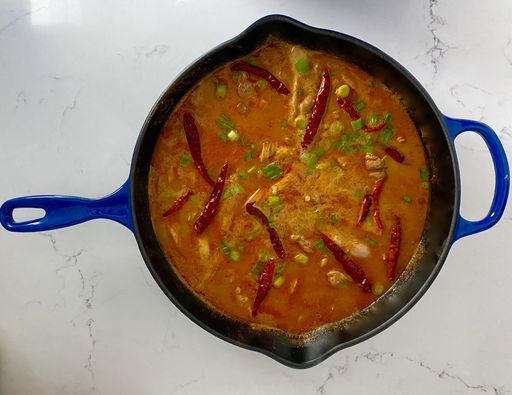
Semi-Homemade Massaman Curry
When Tuck’s mom and dad came home from Thailand, we were gifted with the ultimate arrangement of spices and curry mixes to try. We have loved making them these past few months and have found that modifying this dish is super easy and a fun way to experiment in the kitchen. Because we love spicy,…
-

Semi-Homemade Lobster Ravioli With Shrimp & Spinach
A few days of quarantine and social distancing has proven to be quite the challenge for our mental health. It’s hard to feel like we all aren’t going a little crazy in the midst of the world’s chaos. In order to bring some normalcy back into our lives, we created this ravioli recipe. It is…
-
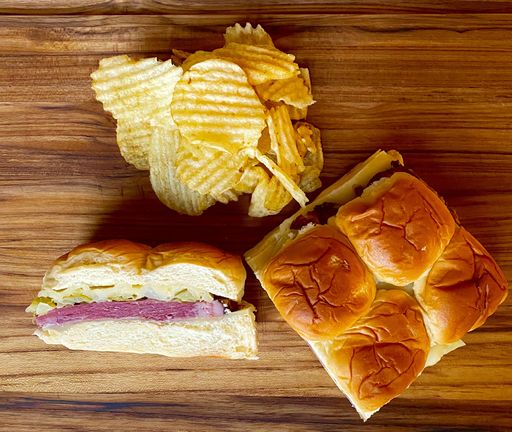
Semi-Homemade Corned Beef Sandwiches
We were introduced to this sandwich during our college days when a good friend (shoutout Sweet Then Savory) made us her mom’s version. It is perfect for an easy, at home, social distancing St. Patrick’s Day celebration. This sandwich is everything that is good about St. Patrick’s Day in one handheld treasure. Corned Beef? Check.…
-
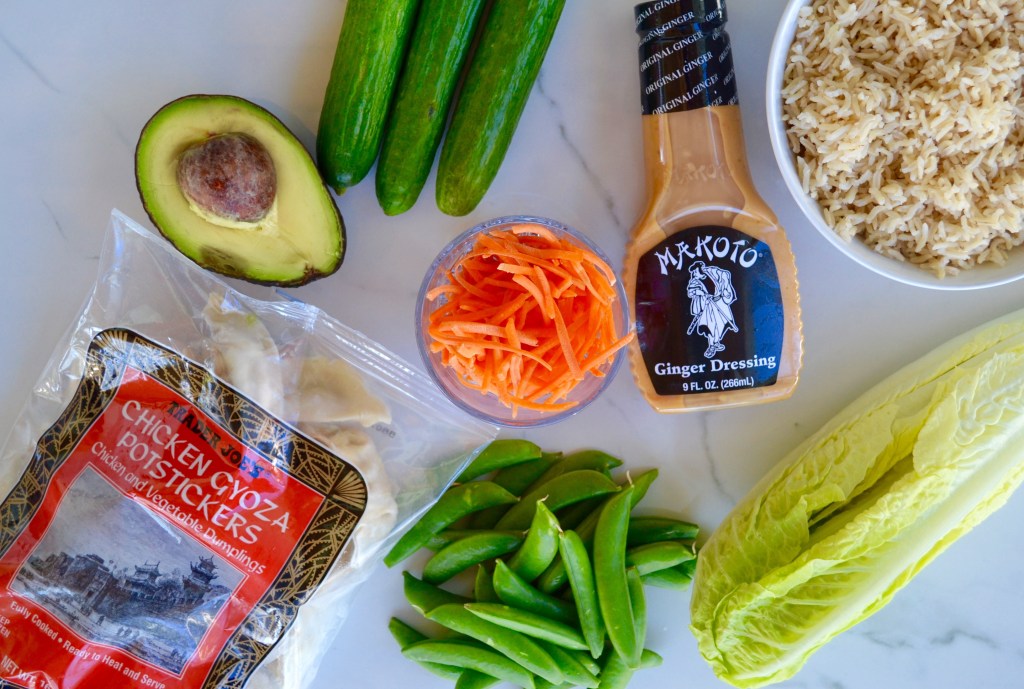
Semi-Homemade Potsticker Salad Bowls
If you know us personally, you know that we love dumplings something fierce. At any given time, you can venture to Tuck or Tate’s homes and find potstickers in the freezer. They are the ultimate answer to “oh crap, what is for dinner?!” We have created these Potsticker Salad Bowls by combining two of our…
-

Semi-Homemade Creamy Cauliflower Rice Bowls
One of our favorite food trends of the last few years is the transformation of cauliflower into the ultimate substitute for carbs. Pizza crust, gnocchi, rice – you name it and you can find it on the shelf. We are fully on board with this movement and have used cauliflower rice as the base ingredient…
-
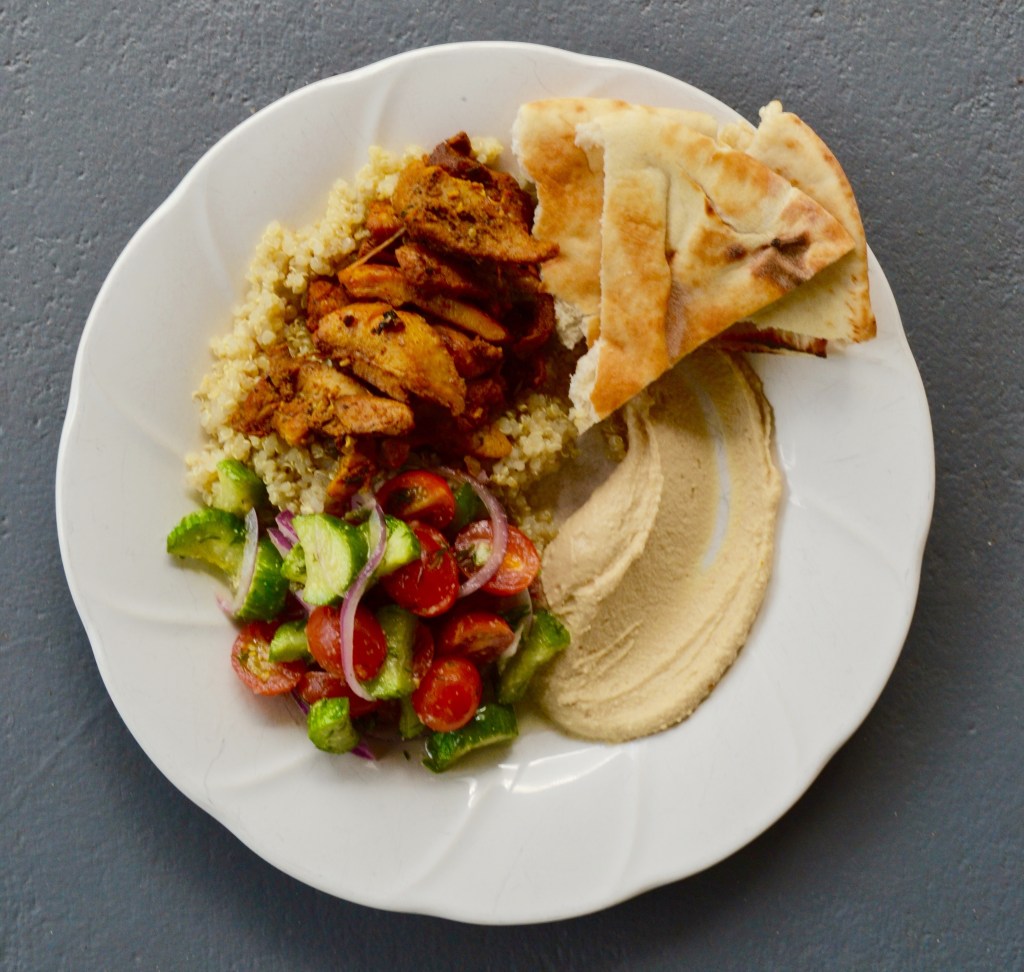
Semi-Homemade Chicken Shawarma Bowls
We have decided to start a new series on the blog for those nights when you want to get a good dinner on the table but are short on time. Even those of us that love to cook and entertain have those days where spending even an hour in the kitchen is too much. “Semi…
