Tag: Dips
-

Spicy Chorizo Queso
Last week Justin Timberlake said “it’s gonna be May” and just like that, here we are rolling into Cinco de Mayo. Last year’s cinco celebrations were a bit bleak thanks to Covid quarantine and a general dismal state of mind. We are feeling much more festive this year and ready for any type of party…
-

Labneh with Parsley & Pistachio Pesto
Passover is one of our favorite Jewish holidays because of the symbolism of the Seder. It’s always the holiday we bring non-Jewish friends to (pre-Covid) to learn about being Jewish. If you are not a member of the tribe and have been invited to a Sedar, you may have shown up starving and realized that…
-
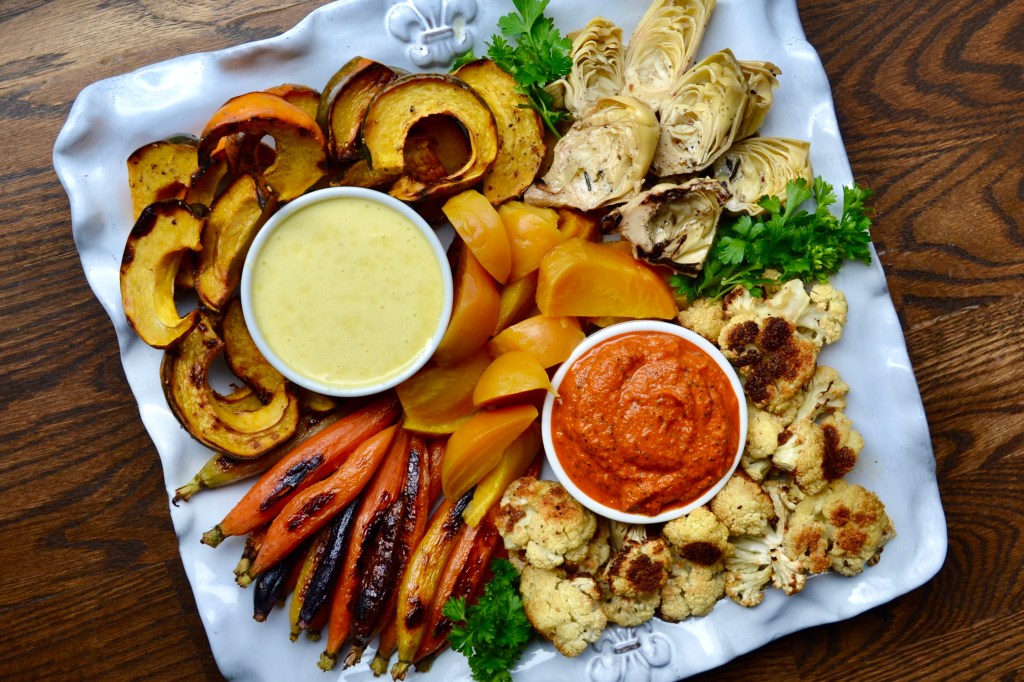
Roasted Vegetable Platter
We know that Thanksgiving 2020 is probably going to look a little different for most of us this year. If you are used to having a large gathering, downsizing your menu and vision can seem a little sad. Our tip for enjoying the holiday to the fullest is to prepare your menu as you would…
-

Spooky Pepperoni Pizza Dip
This recipe is a super fun, adult and kid pleasing, Halloween dip. You can basically do no wrong by creating pizza dip. This dip is everything we love about the topping of pizza (cheese, sauce, and pepperoni) combined and served in a pizza dough bowl. Feel free to add additional pizza toppings that you like…
-

Mother’s Day Lunch 2020
This year was a special Mother’s Day for a lot of reasons. This was the first year that Tate’s mom was celebrating being a mother to both a human and a fur child, and due to the pandemic, the first year that Tuck’s parents were home for Mother’s Day. We knew we had to do…
-

Homemade Tzatziki
Tzatziki is an essential component to any Greek or Middle Eastern menu; you can serve it as an appetizer with pita and sliced vegetables or as a condiment with your entree. It’s cool temperature and flavors help balance out the spicier flavors of Middle Eastern cuisine, like our Lamb Kofta recipe coming tomorrow. You can…
-
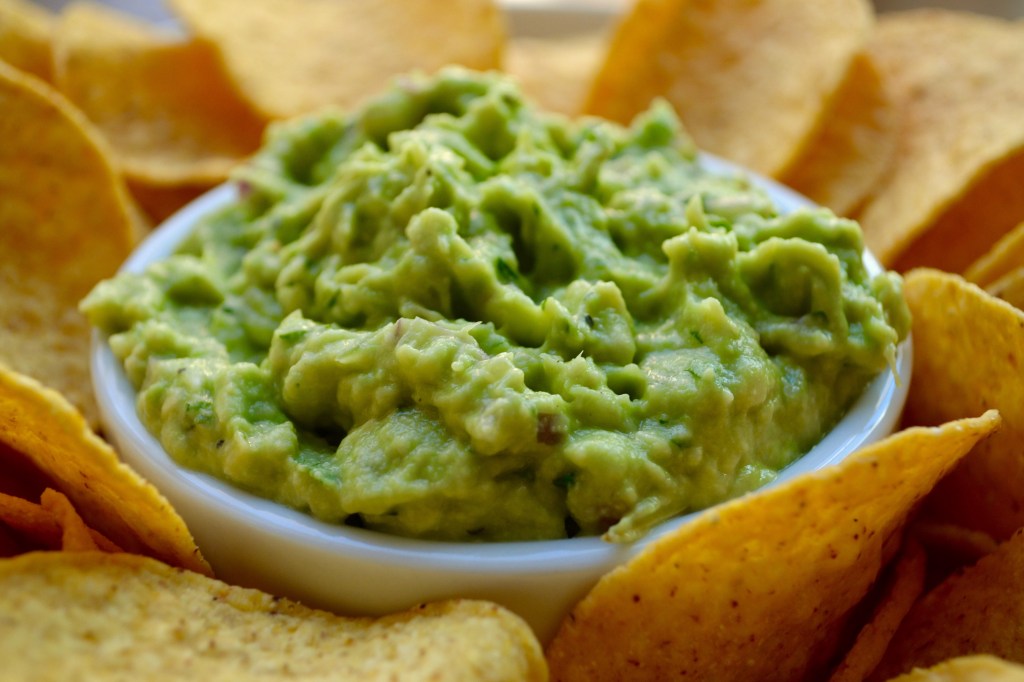
Homemade Guacamole
We named this classic appetizer Guacine Phoenix in honor of Joaquin’s role in The Joker, but all puns for the Golden Globes aside, we LOVE this guacamole recipe. It is the recipe that Tate’s mom has used for years, and as a result is the go-to guacamole recipe for everyone that tastes it. There is…
-
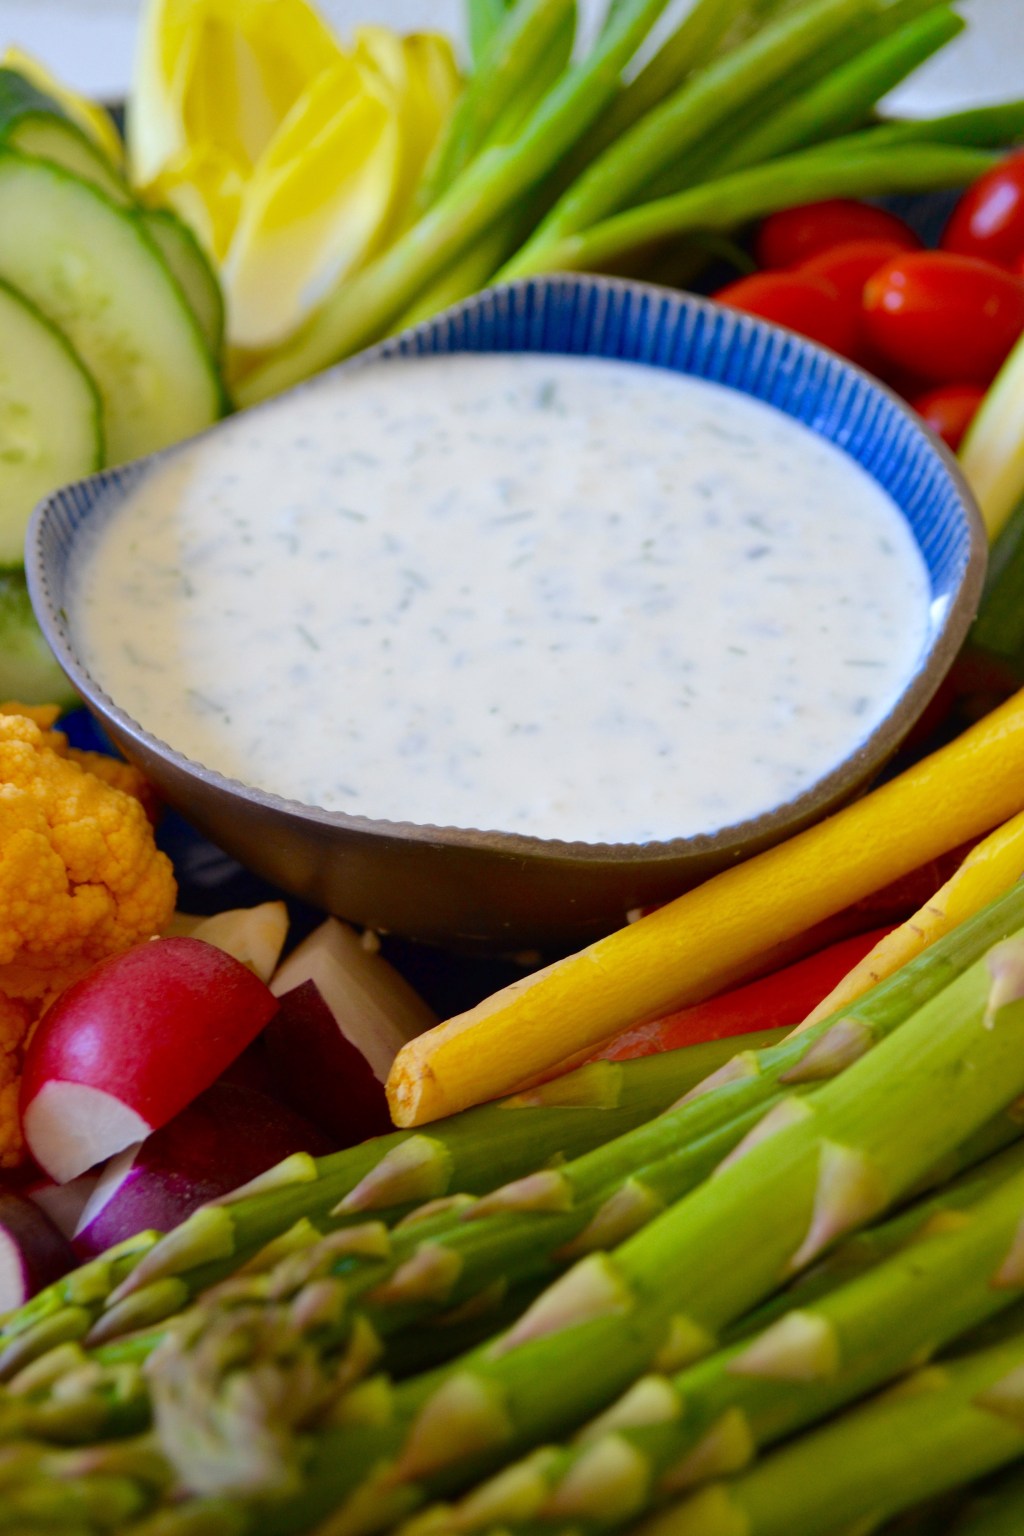
Whipped Feta & Vegetable Platter
We know that this point in the holiday season can feel like a revolving door of guests and family coming over. There is a constant struggle of wanting to be the hostess with the mostest and also relaxing during the holidays. To help our cause we stock up on lots of snacks so that we…
-

Kale & Artichoke Dip
This recipe goes way back to when Tuck’s mom was first starting out in the food blog game. We love this Kale & Artichoke Dip because it has all the fun of its spinach counterpart, but with half the calories. You can eat the entire bowl of dip with a spoon (we have) and not…
-

Butternut Squash Dip
Over at Tuck & Tate, we love ourselves a good dip. We set out to create a dip that resembled the best of fall and are excited to share this one with you. We’ve taken all the best elements of baked potato dip and brought them to the table for fall with butternut squash. The…
