Tag: quick and easy
-

Semi-Homemade Fish Tacos
Last week we shared one of our favorite recipes for Spicy Slaw. We love this recipe because it can easily be paired with burgers, tacos, and even eaten plain as a salad. Today we are sharing one of our favorite uses of the slaw with this recipe for semi-homemade fish tacos. We use frozen fish…
-

Honey Sriracha Shrimp
A lot of times when people think of food bloggers, they imagine that every meal a blogger cooks is a multi-coursed spectacle with fancy ingredients. Our husbands would be the first ones to tell you that that couldn’t be further from the truth. Many days, between balancing our blog and our schedules, our goal is…
-
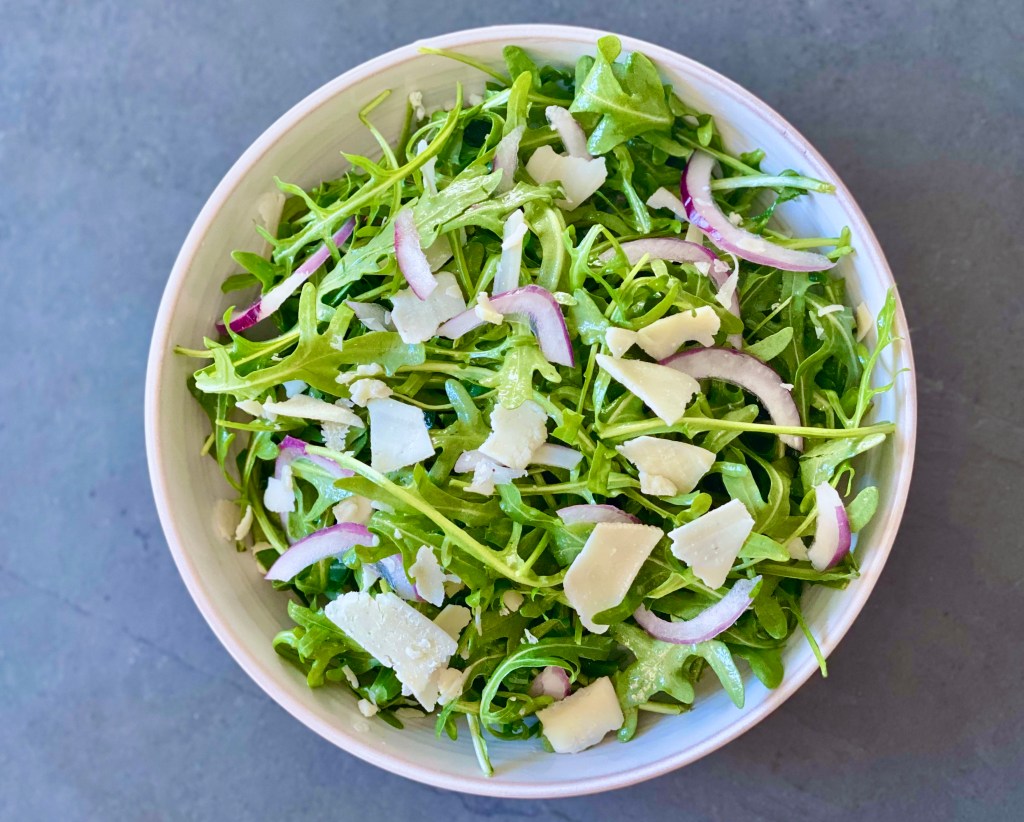
Super Simple Arugula Salad
Whenever we are cooking a complex main entrée for dinner, we like to keep the other dishes simple and easy to put together. This recipe will come in handy for just that – bringing you a great salad that is made in under 10 minutes. Salads don’t always need to have a long list of…
-

Beer Braised Instant Pot Shredded Chicken
During the fall and winter months, it is so comforting at night to have a warm cooked meal on the table. The problem with that is we don’t always have the time to be in the kitchen for hours on the weeknight. This recipe helps bring both together by giving you a delicious meal that…
-

Semi-Homemade Vegan Burrito Bowls
Tuck’s dad watched the documentary “Game Changers” on Netflix a few weeks ago and has been trying to eat vegan as much as possible since. Inspired by our usual Chipotle order, we made these tofu burrito bowls. We love the taste and texture of the tofu – it is loaded with spices and crumbled to…
-
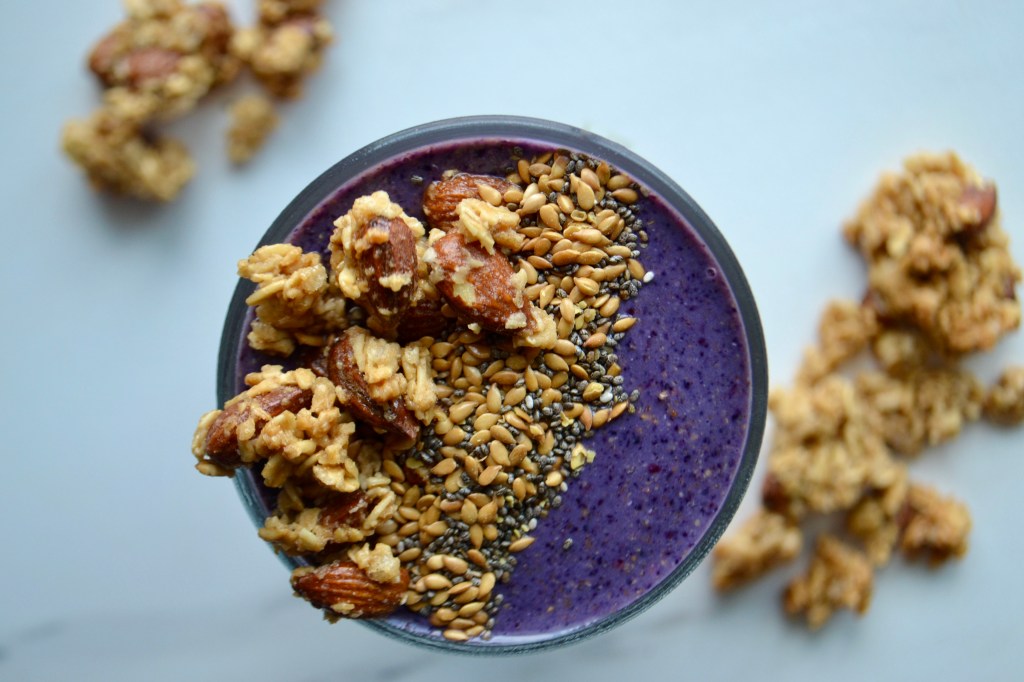
Almond Butter & Berry Smoothie
We are still on the smoothie train and love having a little something sweet to look forward to in the morning when it’s time for breakfast. This Almond Butter & Berry Smoothie is one of our favorites. We blend a mix of chia seeds and flax seeds into the smoothie which makes it thick and…
-
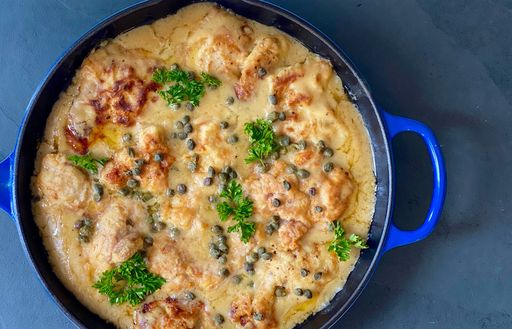
Skillet Lemon Chicken
Tuck’s dad was called up to the Marlins this week and our whole family immediately gathered to watch him play Wednesday night. On nights like this – where we are unexpectedly entertaining – we love the ease of cooking a recipe in one pan. We made this skillet chicken using the base for a traditional…
-
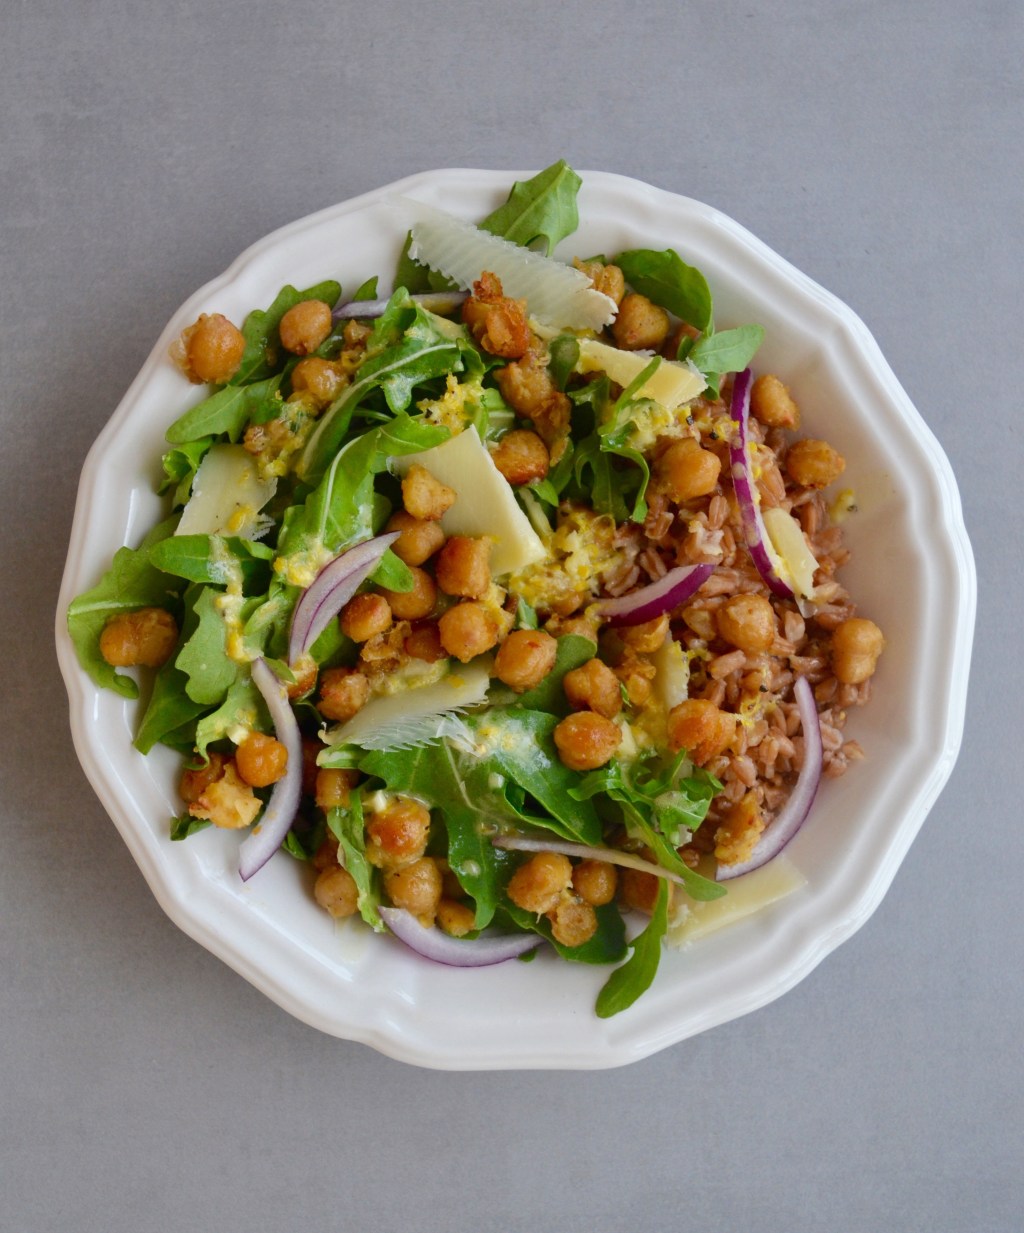
Crispy Chickpea Grain Bowls
Tuck’s family has been on the road for about six weeks now, moving apartments every two weeks because baseball season likes to keep us on our toes! Part of the challenge of “settling” somewhere, even though we don’t know how long we are staying for, is buying the correct amount of groceries. If we buy…
-

Semi-Homemade Southwest Caesar Salad
After two weeks of living together in quarantine, we have come up with a pretty good system for meal planning. While it might seems a little OCD to plan out lunches and dinners every day for four adults, it actually helps cut back on food waste and helps us buy the minimum amount of groceries…
-
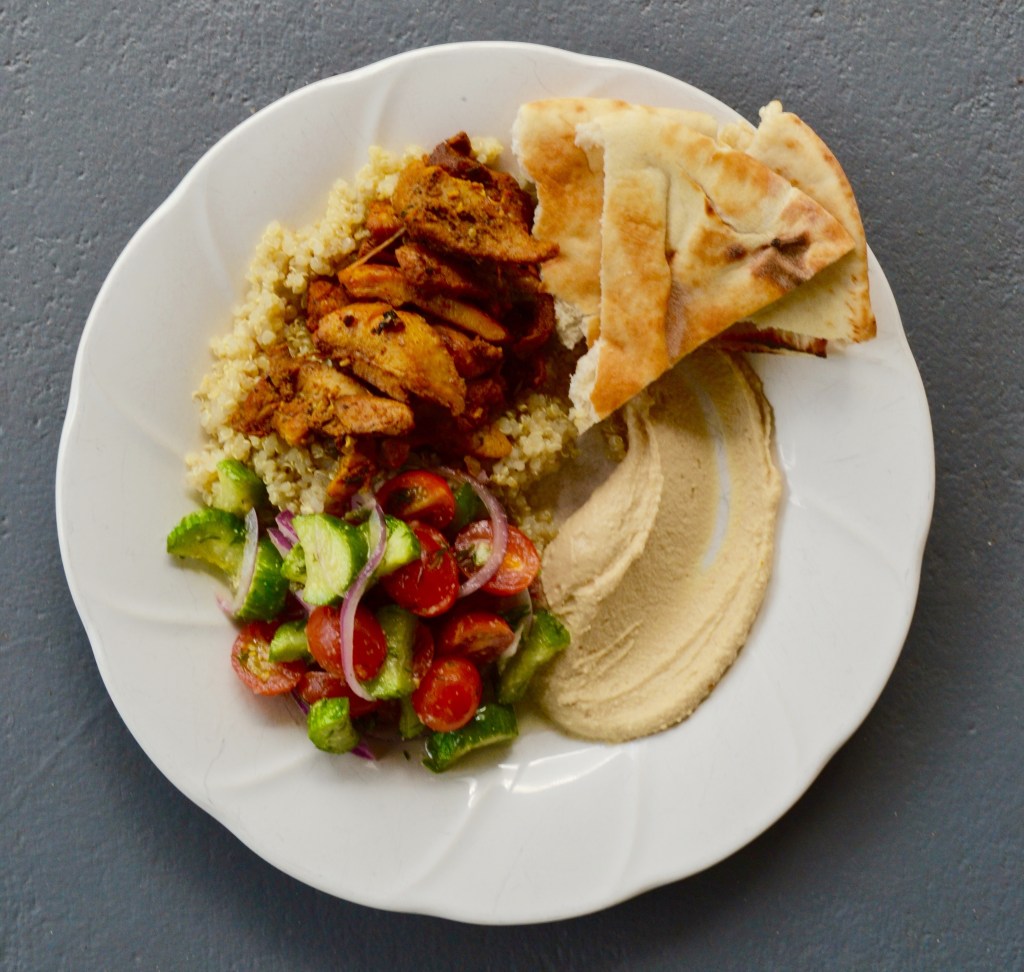
Semi-Homemade Chicken Shawarma Bowls
We have decided to start a new series on the blog for those nights when you want to get a good dinner on the table but are short on time. Even those of us that love to cook and entertain have those days where spending even an hour in the kitchen is too much. “Semi…
