Tag: healthy
-

Peaches & Cream Overnight Oats
It’s been a while since we have been on the overnight oats train, but we we are back at it with this fresh peach variation just in time for summer! Living in Colorado, peaches from the Palisades are something we look forward to every summer. We’ve taken peaches and chopped them into overnight oats for…
-

Avgolemono
This soup has been a staple in our homes for quite some time. We love this Greek lemon soup because it is simple to make, has a ton of flavor, and has become a comfort food for us, especially in the winter. We like to serve this as a starter or alongside pitas and Greek…
-
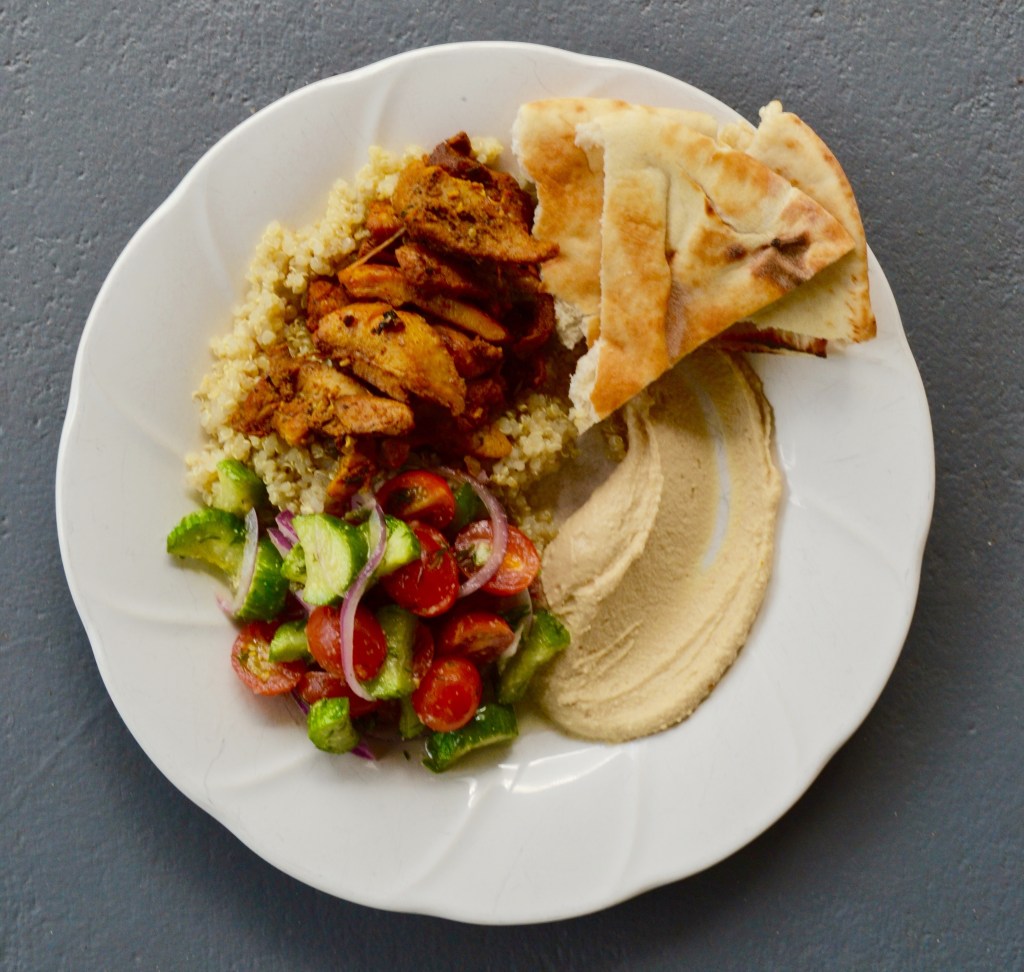
Semi-Homemade Chicken Shawarma Bowls
We have decided to start a new series on the blog for those nights when you want to get a good dinner on the table but are short on time. Even those of us that love to cook and entertain have those days where spending even an hour in the kitchen is too much. “Semi…
-

Strawberry Coconut Overnight Oats
One of our biggest challenges when getting out the door in the morning is making sure that we are put together and fed before starting the work day. The. Struggle. Is. Real. To combat the “Sunday scaries” and make the weekday mornings easier, we put together this quick and easy overnight oats recipe. After 10…
-
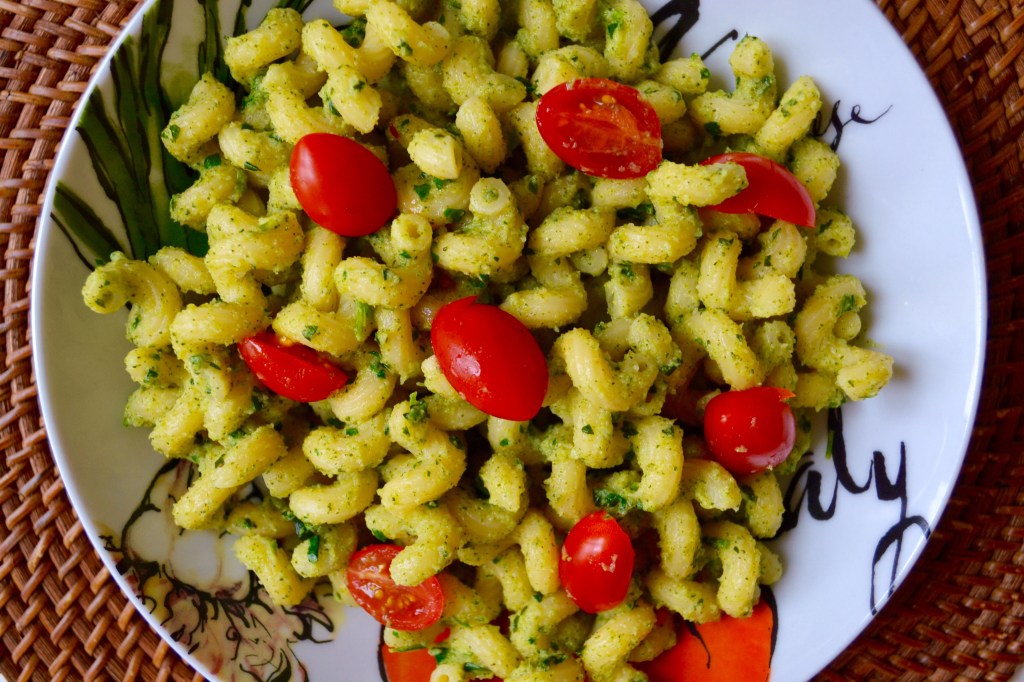
Broccoli Pesto Pasta
Fun fact. Tate’s mom made this pesto using the Beaba baby food steamer and processor. In this season of life, making baby food regularly, it made the most sense to re-purpose kitchen tools that were already in use. Regardless of process, we were able to create a pasta dish that is easy to make and tasty for…
-

Spaghetti Squash Enchiladas
A few weeks ago we asked our Instagram followers what kind of recipes they were looking to see in the new year. A few of you asked for recipes with spaghetti squash. Ask and you will receive! Spaghetti squash is a great substitute vegetable if you are looking to eat less carbohydrates. Instead of thinking of spaghetti…
-

Cure Your Cold Congee
We don’t know about you, but our family has been hit HARD this year with winter illnesses. Tate’s younger brother started daycare and we are battling everything from a cold to hand foot and mouth disease (gross!). To help combat some of these germs, we we have created one of our favorite dishes, congee, with…
-

Brussels Sprouts Chopped Salad
We hope everyone is getting off to a successful start with their New Year’s resolutions! For those of you trying to keep things healthy this month, we bring you this Brussels Sprout Chop Salad. We have a few rules when we are trying to keep up with clean eating: 1) the food has to be…
-
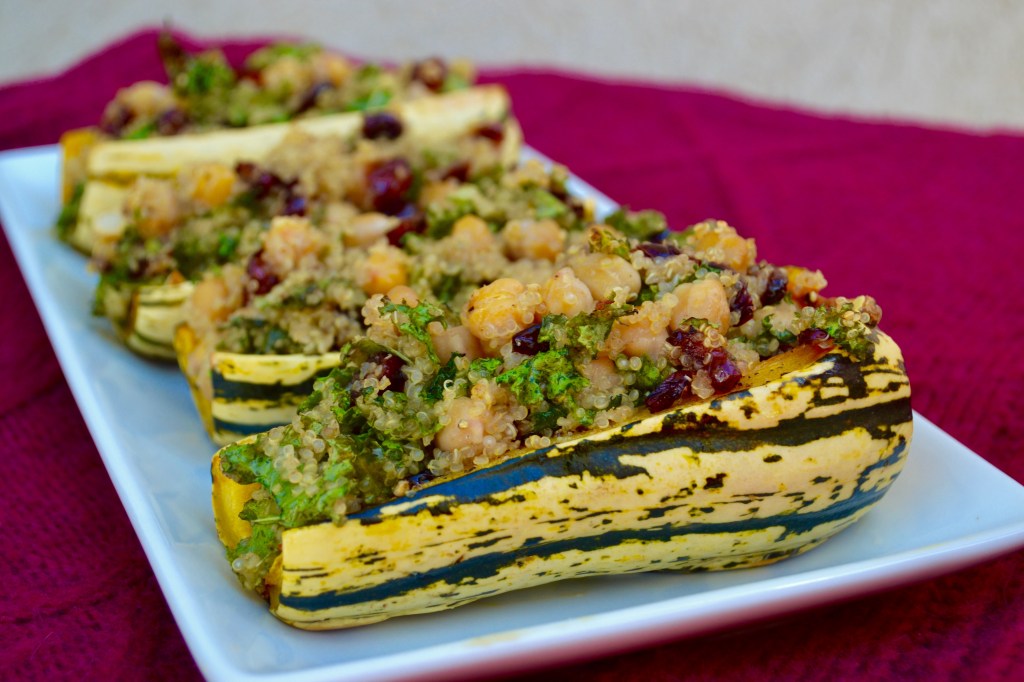
Cranberry & Chickpea Stuffed Delicata Squash
Not sure about you, but we can’t be the only people on Thanksgiving that wish there was just one healthy or crunchy item on the table. Don’t get us wrong, we are HERE for the mashed potatoes and stuffing, but just one little thing to help balance out the decadence goes a long way. We…
