Tag: summer recipes
-

Spinach & Feta Turkey Burgers
This is the recipe that changed the turkey burger game for us. Let’s face it, turkey burgers are notoriously dry. The meat is so lean that it often doesn’t lend well to grilling unless you incorporate additional fat like in our spicy turkey burger recipe. Instead of adding chicken sausage, we have incorporated feta and…
-
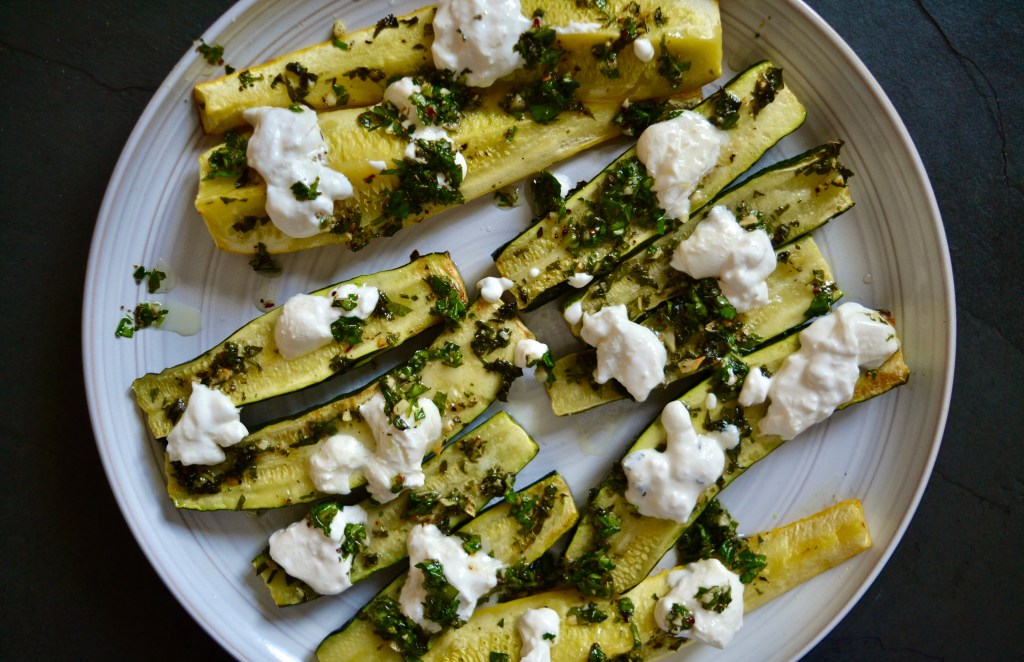
Zucchini with Burrata & Garden Herb Gremolata
Fall is quickly approaching and as the weather starts to chill we are trying to use up our abundance of garden veggies! This dish is simple in preparation but complex with fresh flavors thanks to the incorporation of herbs we grew in our summer garden. We have chosen a gremolata as the “dressing” for this…
-

Arugula & Burrata Flatbread
This flatbread is one of our go-to recipes for summer entertaining or a quick weeknight dinner. With just a few simple ingredients, this recipe bursts with flavor from the creamy burrata, citrusy lemon oil, and fresh basil. We top it with lots of peppery arugula (more than pictured) so that we have a salad and…
-

Semi-Homemade Hot Dog Bar
Entertaining does not have to be fancy to be delicious and delightful to your guests. We love having friends over in the summer for a backyard barbecue, and instead of spending hours prepping for a fancy feast, we like to have a really fun menu like this Semi-Homemade Hot Dog Bar. We love that we…
-
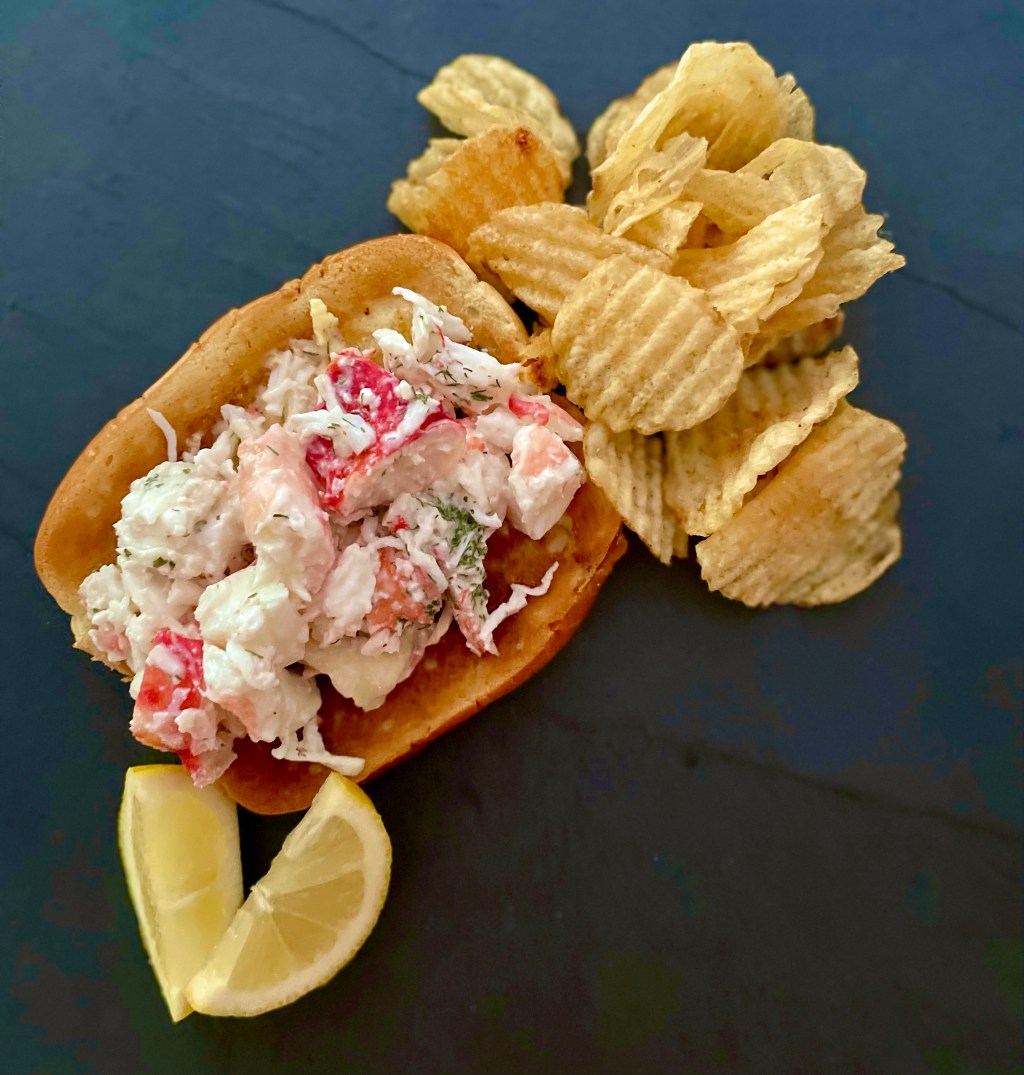
Alaskan King Crab Rolls
Every year for Calli’s birthday, we have a seafood birthday celebration with our best family friend, Leslie. We order a box of Alaskan king crab legs from Costco, steam the legs and serve them with lemon and hot butter. It is one of our favorite summer traditions and something we look forward to every year.…
-
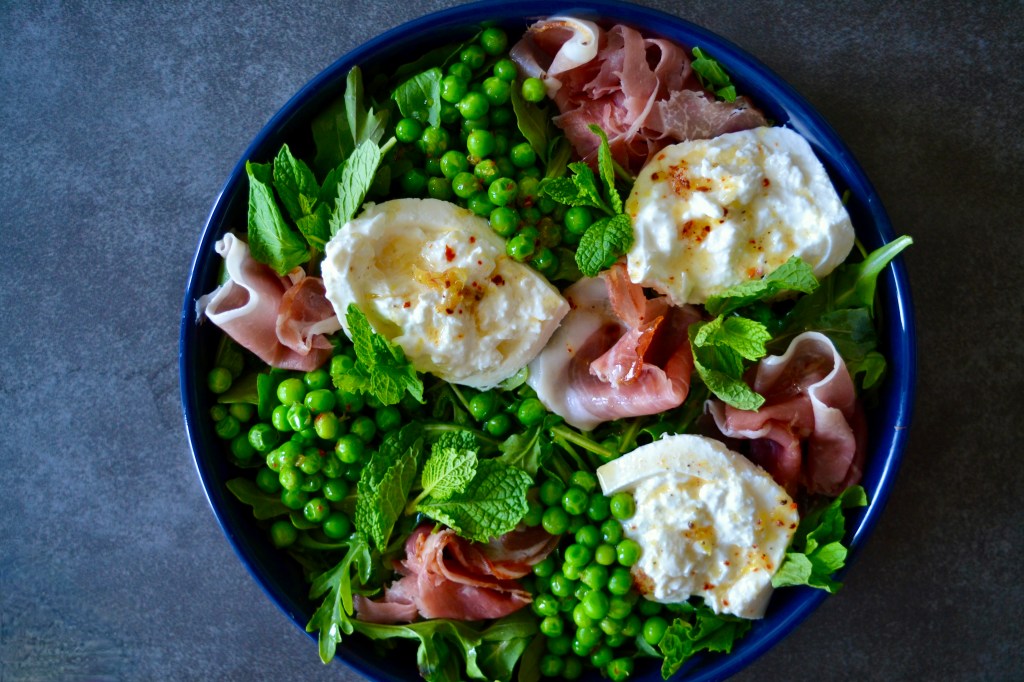
Pea, Prosciutto, & Burrata Salad
In an effort to keep fresh peas from spring into our summer menu planning, we set out to create a recipe with peas and some decadent ingredients to make a recipe that would be rich and satisfying, but also healthy. We love a hearty salad in the summer as an entrée, but to feel like…
-
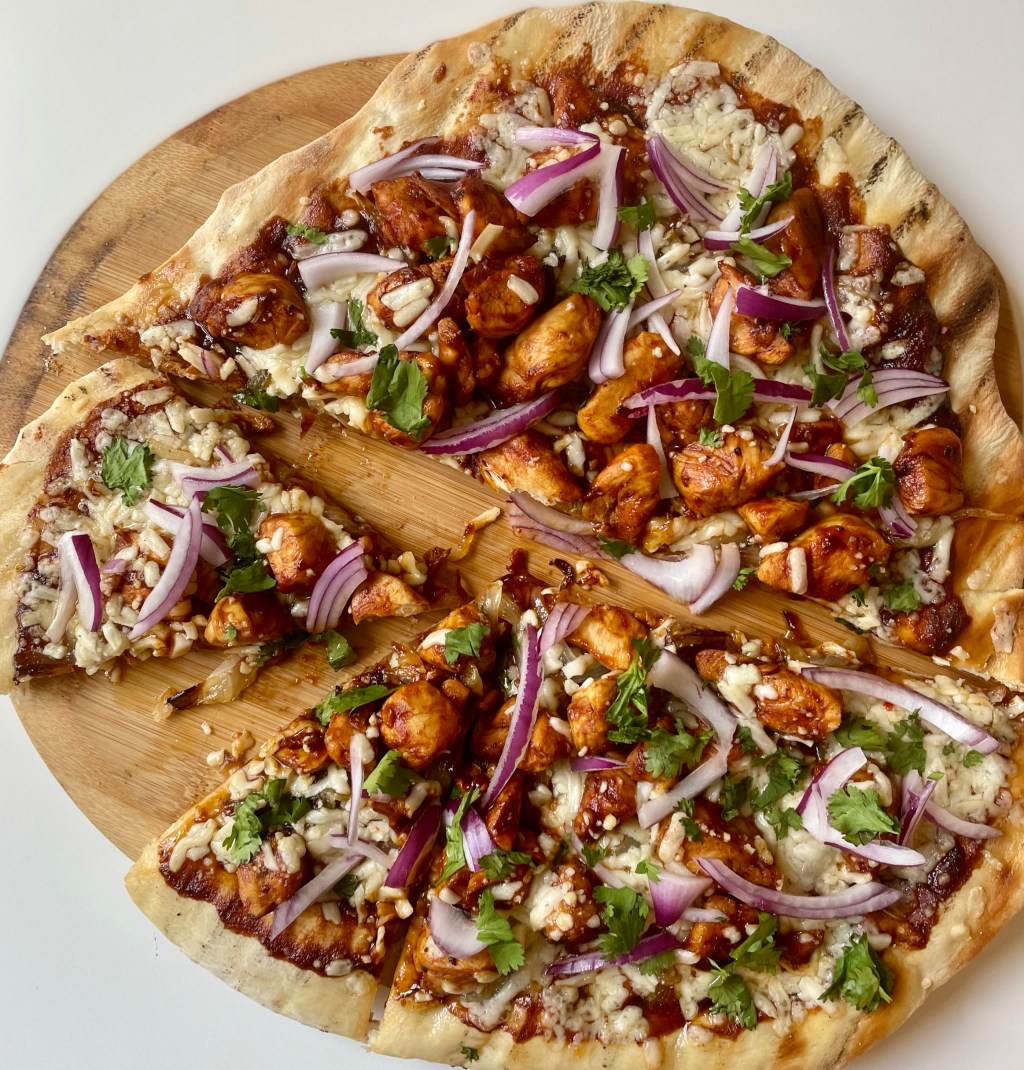
BBQ Chicken Pizza
One of our favorite items to make in the summer is grilled pizza. We love how easy it is to buy a pre-made dough at the store and get creative with toppings of our choice. This week, we were craving BBQ chicken and decided to make a BBQ chicken pizza. This pizza turned out to…
-

Clams with Fennel & Chorizo
For as much as we love to cook, seafood is one of the types of food that we don’t cook a lot of at home. It’s sort of an odd observation because we LOVE seafood. Calli will host an annual lobster dinner every summer for her birthday, but if we aren’t splurging on lobsters and…
-
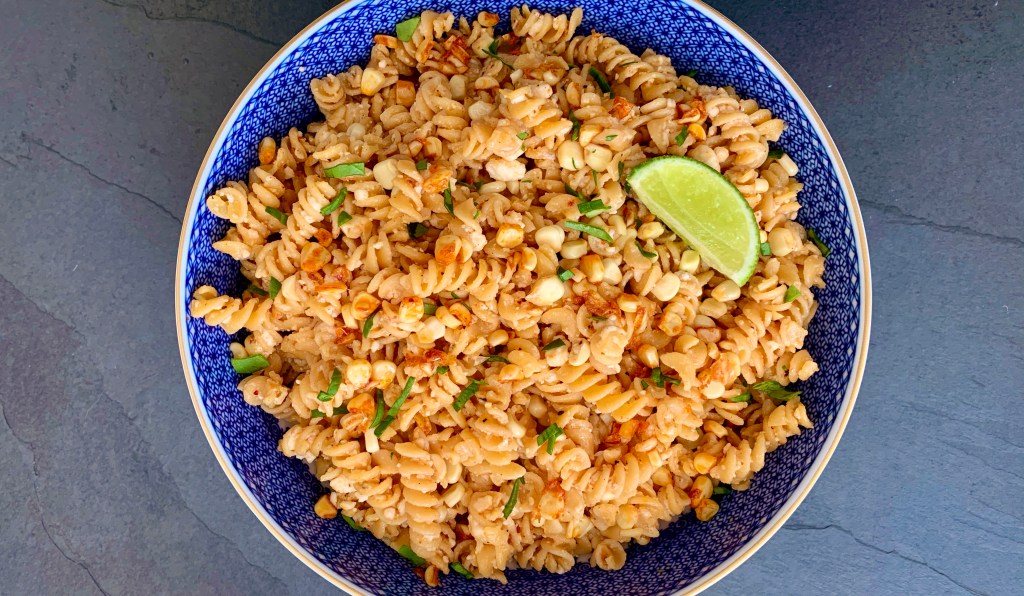
Elote Pasta Salad
Elote (Mexican street corn) is one of our absolute favorite side dishes to have during the summer. We have yet to find anyone that doesn’t like it and will find an excuse to squeeze it into any dinner menu that we plan. To change things up for our Memorial Day menu, we wanted to take…
-
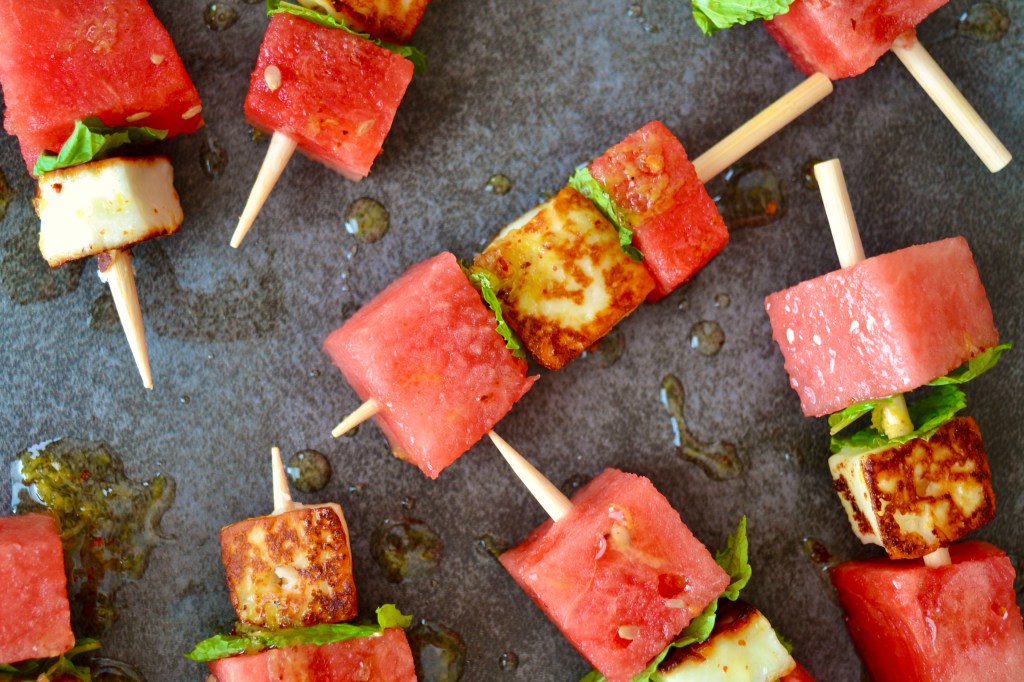
Watermelon & Halloumi Kabobs
We are approaching Memorial Day Weekend, which means that it is officially #WatermelonSeason. We love watermelon in the summer, and are particularly into mixing the sweet fruit with savory toppings for something unexpected. To prepare for this weekend’s barbecue festivities, we are making loads of these kabobs with watermelon, mint, and halloumi cheese. Halloumi is…
