Tag: Jewish food
-
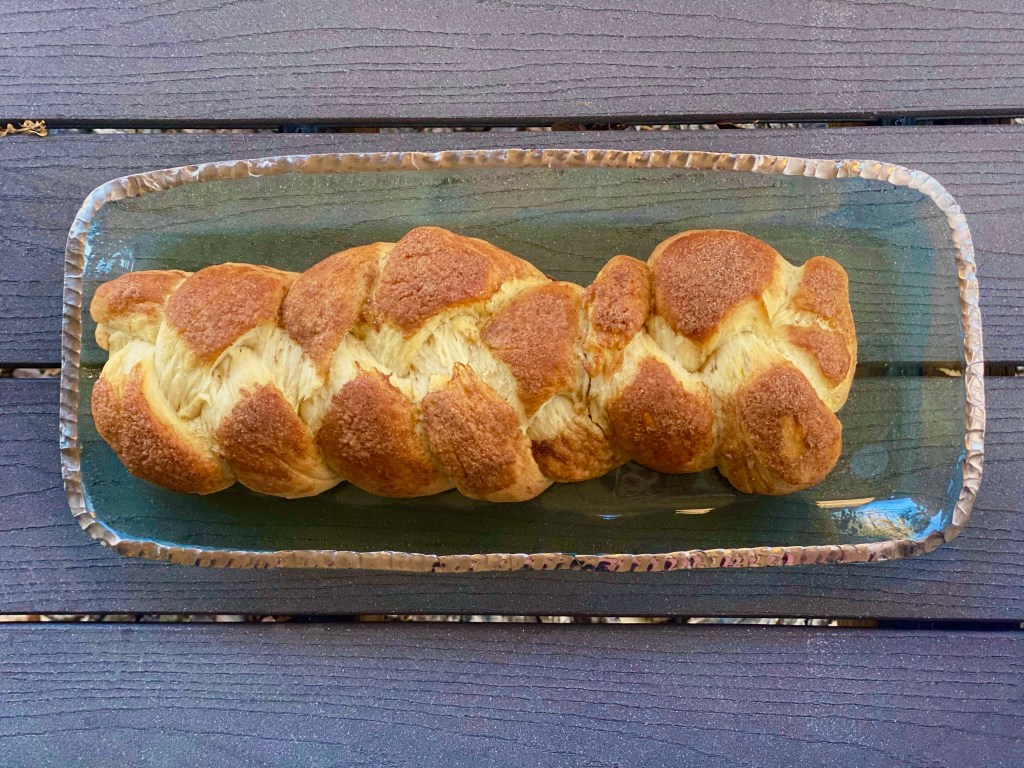
Cinnamon Challah
We introduced Nana’s famous challah recipe a few months ago and have been making challah almost a few times a month since. Nana’s recipe is our go-to for a tried and true classic challah. As time has gone on, we have experimented with different ways to modify this recipe and introduce new flavor profiles to…
-

Nana’s Matzah Balls
Of all of the dishes and meals that make Nana an amazing cook, her matzah ball soup stands out as undeniably one of the best. Each year, we look forward to the Jewish holidays so that we can have a big bowl and leftovers for weeks to come! As years have passed, we have found…
-

Jewish Deli Brunch Board
We aren’t sure if our Yom Kippur “break-the-fast” dinner is one of our favorite meals because it is breakfast-for-dinner on steroids, or if it’s one of our favorite dinners because we have spent the previous 24 hours abstaining from food. In normal (non-Covid) years, our mom hosts a huge Break-The-Fast with a bunch of our…
-
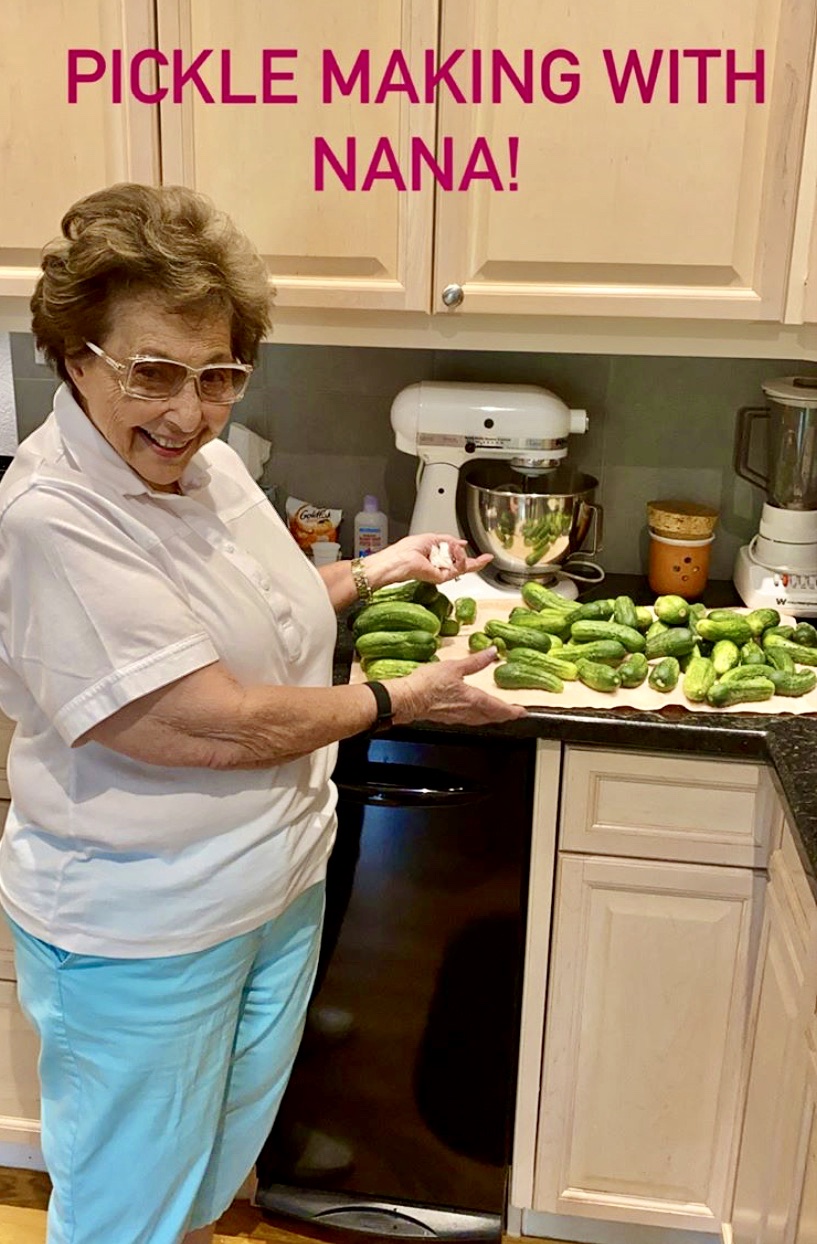
Nana’s Dill Pickles
We posted an Instagram a video of us making pickles with Nana a few weeks ago, and a lot of you loved seeing the Queen of the Kitchen at work. We have been making pickles with her every August since we can remember and it was so special to capture the process on camera and share it…
-
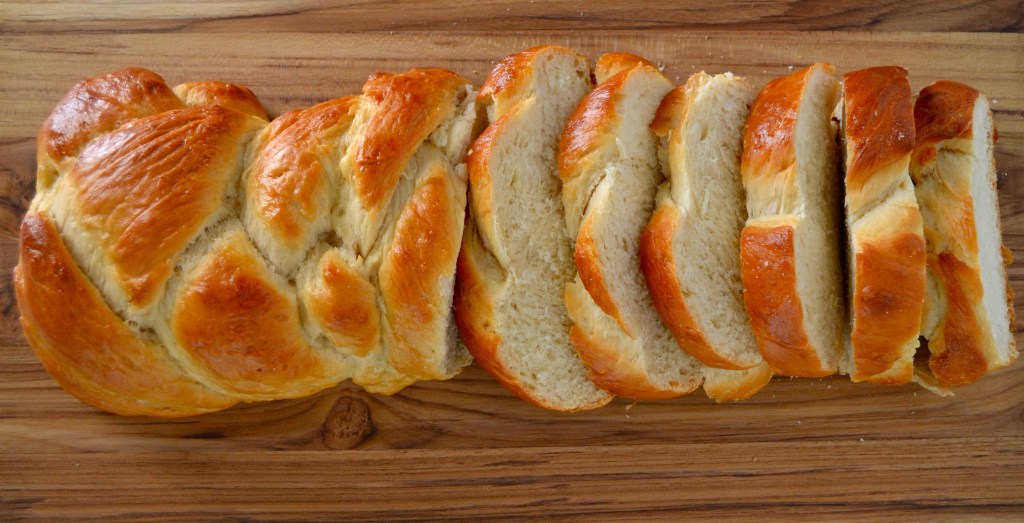
Nana’s Challah
There is something very zen and therapy-like about baking bread. Watching the ingredients bubble, patiently waiting for the dough to rise, the kneading and braiding…. we love it all. We don’t bake very often, but every time we do, it is such an enjoyable experience. For our readers that don’t know, challah is an egg…
