Tag: fall recipes
-

Cinnamon Apple Baked French Toast
If you have been following along with us at Tuck & Tate, you know we love a good brunch situation. Our easy, go-to brunch menu includes a savory egg dish, a sweet dish, and either a fruit salad or a vegetable salad. When it comes to the sweet section, we love a good baked french…
-

Deep Dish Apple Pie
Oh my, apple pie. While people can be hit and miss about their love of pumpkin desserts, we haven’t found anyone yet that dislikes apple pie. We always have some sort of apple dessert on the table at Thanksgiving, and this year we wanted to really take things up a notch and made a deep…
-

Apple Pie Bars
We love apple desserts in the fall and are always seeking out variations of the traditional apple pie. Pies are great for holidays and have more of a show stopping presentation, but if we are craving a little weekday treat we don’t need to put in all that time decorating and rolling dough. We found…
-

Bourbon Salted Caramel
October is the month for spooky, scary festivities and lots of sweet treats! As an alternative to the bags candy you’re bound to have around the house over the next few weeks, we are taking things up a notch with some homemade dessert options. If you are overwhelmed by the thought of making caramel from…
-

Butternut Squash Linguini
It is officially fall which means it is pasta galore in our kitchens. We have no shame posting two pasta recipes in one week, and you shouldn’t feel bad about cooking both of these recipes during a chilly week either! There is something so satisfying about a creamy, hot bowl of noodles on a cold…
-

Oktoberfest Pumpkin Chili
We love experimenting with pumpkin recipes in the fall, and surprisingly have ended up liking the renditions of savory dishes more than the sweet ones! We have been making versions of this pumpkin chili for years now, and this latest is our favorite yet. We have combined all things “October” in this hearty chili- Oktoberfest…
-

Spicy Chickpea & Harissa Stew
We love soups and stews and get giddy when the temperature starts to get cooler and it is acceptable to eat soup most meals of the week. This recipe incorporates all of our favorite Middle Eastern ingredients into one hearty bowl. You can easily make this vegetarian or vegan by eliminating the shrimp and feta…
-
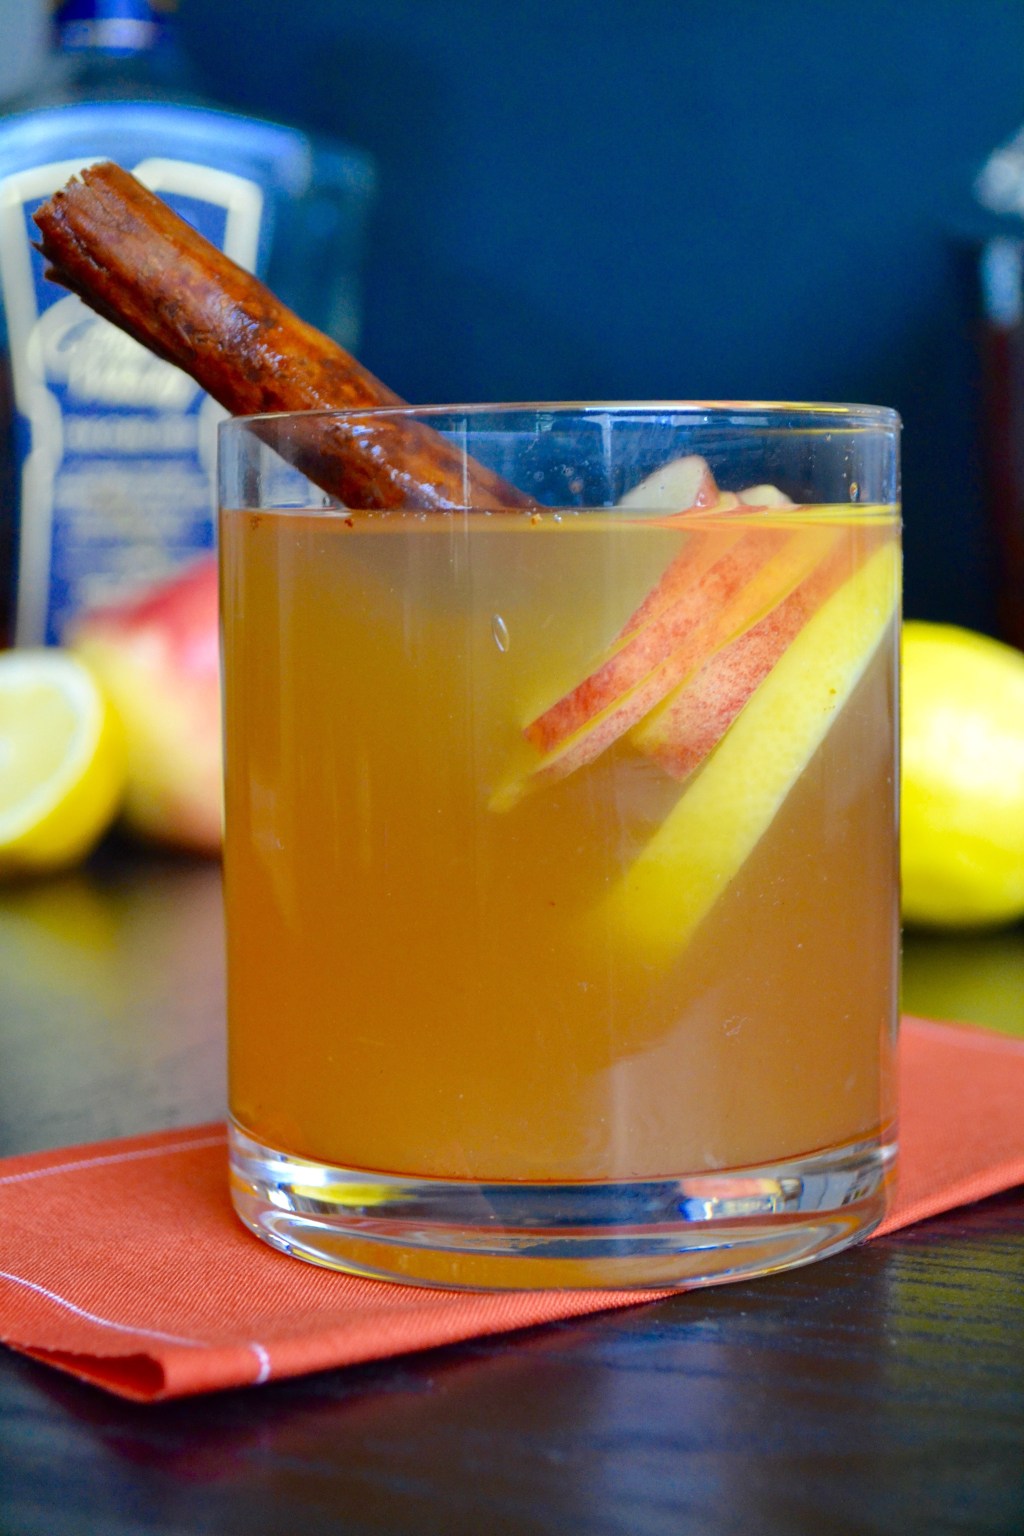
Whiskey Cider Cocktails
When hosting a big party or get together like Thanksgiving dinner, we always like to have a pre-made cocktail on hand when guests arrive. This does a few things: 1) helps get everyone situated and makes them feel welcome — 2) eliminates us from having to be bartender the entire evening — 3) sets the…
-

Thanksgiving Dinner 2019
Thanksgiving is one of our absolute favorite days of the year. Our Nana has hosted Thanksgiving for as long as we can remember and is the ultimate hostess. Everything from the table settings and place cards to the delicious meal is expertly thought out and memorable. We were inspired by her attention to detail when…
