Category: Pastas & Noodles
-
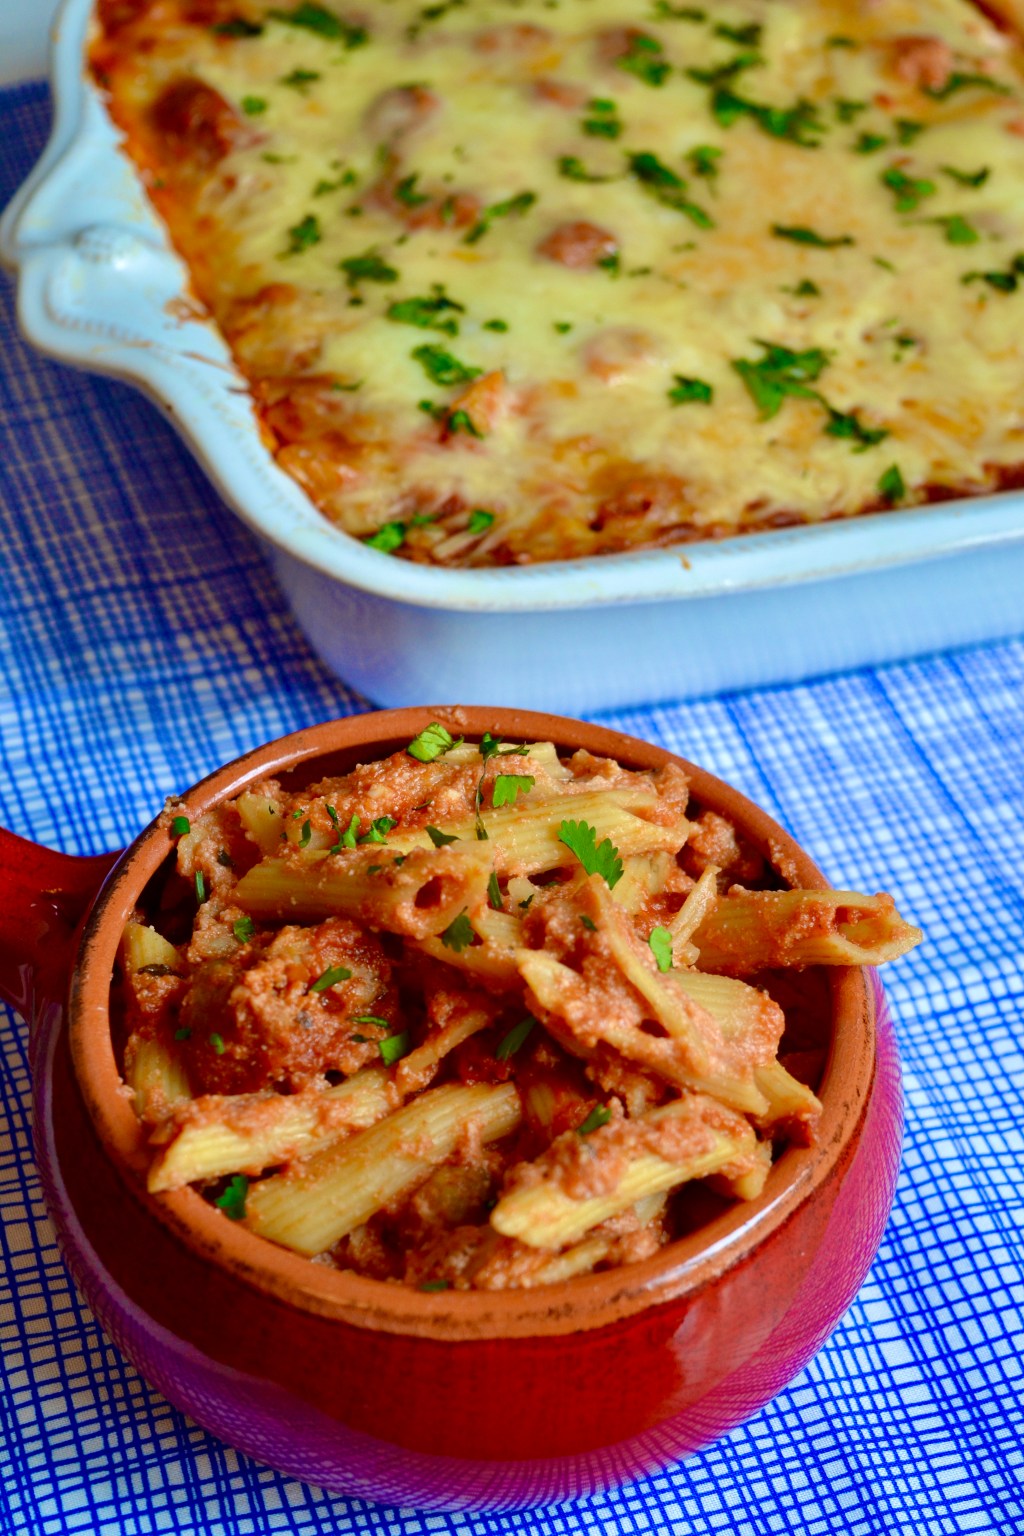
Cheesy Baked Penne
We love a good comfort food recipe and are particularly fond of this cheesy baked penne. We recently had a friend who was ill, and to lend a helping hand, we prepared this recipe to send to his house. In the days of social distancing, dinner on the doorstep is an easy gesture for someone…
-

Mac & Brie
We only started having mac and cheese on Thanksgiving a few years ago, when our dad was inspired by a Cajun macaroni recipe he saw online and insisted on bringing it for dinner. After its introduction on our Thanksgiving plates, we couldn’t imagine another Thanksgiving without one of our all time favorite side dishes. We…
-

Butternut Squash Linguini
It is officially fall which means it is pasta galore in our kitchens. We have no shame posting two pasta recipes in one week, and you shouldn’t feel bad about cooking both of these recipes during a chilly week either! There is something so satisfying about a creamy, hot bowl of noodles on a cold…
-

Pesto & Ricotta Stuffed Shells
As the weather starts turning cooler, we find that we start craving warm and hearty meals. One of our favorite family meals is stuffed shells. There are so many different ways to customize a stuffed shells recipe; you can incorporate the protein of your choice or add vegetables to get your greens in. For this…
-

Farmers’ Market Brown Butter Orzo
Our inspiration for this recipe came from a weekend trip to the farmers’ market. There are so many fresh vegetables available this time of year, and we took a few things we bought and turned them into an orzo salad. This pasta has everything we love about summer- zucchini, tomatoes, and fresh corn- combined and…
-

Cauliflower Mac & Cheese
We love mac & cheese more than most things in life. It’s our favorite accompaniment for any bbq menu and most family gatherings. In the spirit of keeping ourselves “bikini ready” this summer, we wanted to create our version of a healthier mac & cheese recipe. Our goal was to create an alternative that is…
-

Summer Pesto Pasta Salad
We love serving pasta salad as a side dish for a cookout or barbecue. There are hundreds of recipes to choose from, but we tend to go with a veggie filled pesto version as we head into the heart of summer. Pasta salads can often time be filled with mayo which makes it a very…
-

Momofuku Inspired Chilled Spicy Noodles
If it isn’t abundantly clear, we love ourselves a good noodle bowl. It was love at first bite when we first tried Momofuku in New York and have made it a point every time we go to the city to stop by for noodles, steamed buns, and any and everything else on the menu. One…
-
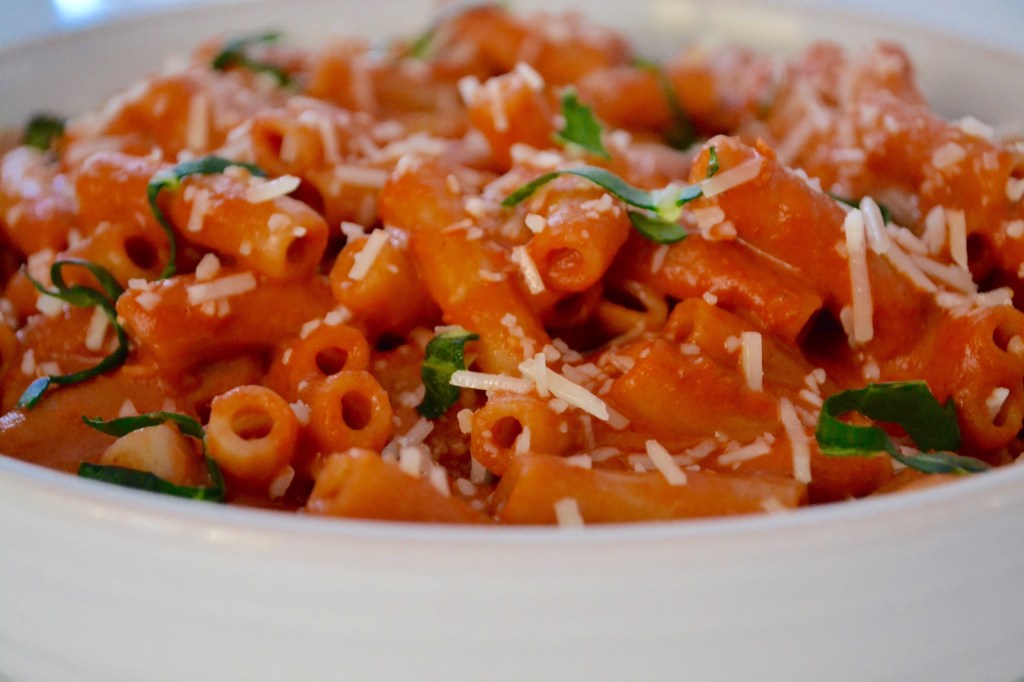
Penne a la Vodka
Keeping things simple in quarantine does not mean that the food we make has to lack flavor. This penne a la vodka has just a few ingredients, most of them pantry ingredients, and is a much more exciting dinner than regular old spaghetti. Not to mention we could all use a little extra dash of…
-
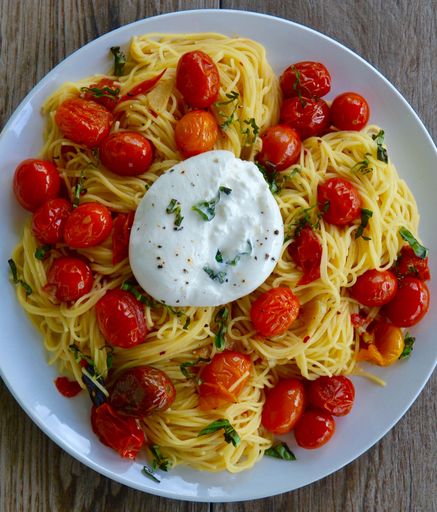
Angel Hair with Confit Tomatoes & Burrata
Yesterday we posted a detailed recipe about how we confit cherry tomatoes during the spring and late fall to help give out-of-season tomatoes a flavor boost. We infuse them by cooking the tomatoes low and slow in the oven in a bath of olive oil, garlic, and herbs to help bring them to life. These…
