Category: Chicken
-

Instant Pot Hatch Chili Shredded Chicken
We love a quick and easy taco night as a tasty way to get dinner on the table. Hatch chiles are in season in Colorado and we try our best to use them as much as we can this time of year and really soak up the smoky, spicy flavor they bring to a dish.…
-

Grilled Lemon Chicken Kabobs
You probably know by now that we love cooking on the grill during the summer. We love versatile entrees that we can mix and match with other menu items, and these lemon chicken kabobs are a great addition to any cooking routine. We go back to this recipe over and over because it ticks all…
-

Bruschetta Chicken
Summer is officially on the way and with it comes tomato season! We love to grow our own tomatoes and pick them up from the farmers market. You can not beat the taste of a fresh, seasonal tomato. We wanted to fancy up a simple chicken recipe and opted to made a “bruschetta” style grilled…
-
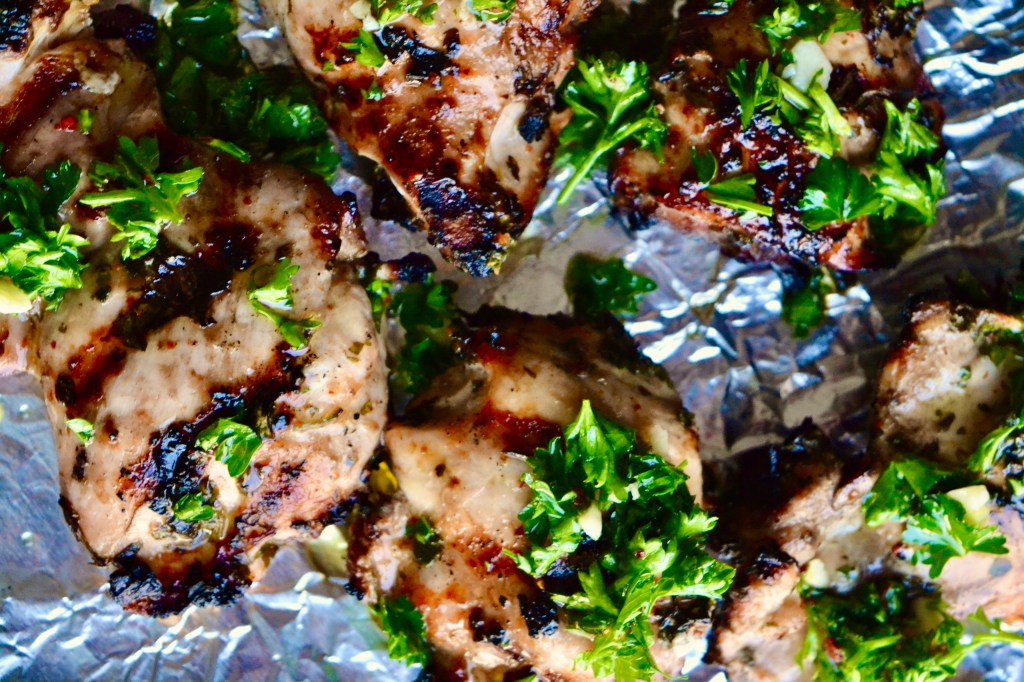
Grilled Chicken Thighs with Chimichurri
The weather is getting warmer by the day, which means that it is almost grill season in the Lavarnway and Cardillo houses. We love cooking on the grill as an easy way to get outside and add a little smoky char to whatever we are cooking. If you’ve been around for a while, you know…
-

Beer Braised Instant Pot Shredded Chicken
During the fall and winter months, it is so comforting at night to have a warm cooked meal on the table. The problem with that is we don’t always have the time to be in the kitchen for hours on the weeknight. This recipe helps bring both together by giving you a delicious meal that…
-
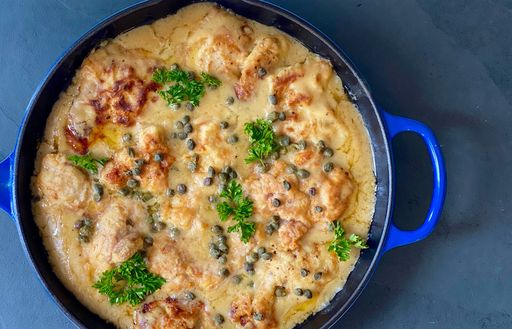
Skillet Lemon Chicken
Tuck’s dad was called up to the Marlins this week and our whole family immediately gathered to watch him play Wednesday night. On nights like this – where we are unexpectedly entertaining – we love the ease of cooking a recipe in one pan. We made this skillet chicken using the base for a traditional…
-

Lemon Chicken with Artichokes
Happy Passover! We hope that everyone had a nice Seder and a great night of eating. This year’s Seder “was not like all other nights” for a lot of reasons, and we hope that this year was still a good evening to connect with family and friends, even if it was virtually. We had a…
-
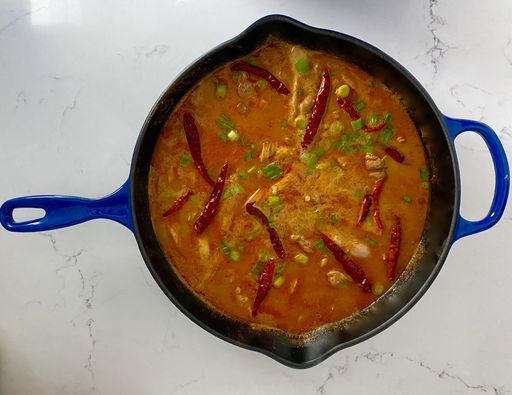
Semi-Homemade Massaman Curry
When Tuck’s mom and dad came home from Thailand, we were gifted with the ultimate arrangement of spices and curry mixes to try. We have loved making them these past few months and have found that modifying this dish is super easy and a fun way to experiment in the kitchen. Because we love spicy,…
-
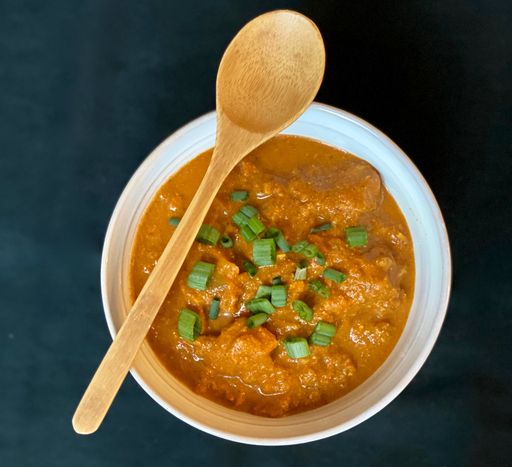
Instant Pot Chicken Tikka Masala
If you look at our history of recipes it is abundantly clear that we love cooking Asian cuisine. Indian recipes are no exception to this rule. Cooking Indian dishes can be incredibly intimidating because most recipes come with a list of dozens of spices. We have created this recipe to help use some spices that…
-

Creamy Honey Mustard Chicken Thighs
Mixing up our weeknight dinner routine sometimes can feel like a challenge . It’s hard to constantly be creative and inspired to try new things, particularly when we have an arsenal of go-to recipes that we can prepare with our eyes closed. What keeps us motivated is our desire to mix things up in the…
