Category: Entrees
-

Sweet Potato Jalapeno Popper Tacos
This recipe came to be from a blissful kitchen mix-up when Jamie accidentally bought ingredients for two separate recipes she planned to cook. The original recipe we wanted to make was for sweet potato and pineapple tacos. We knew all of that starchy sweetness needed salt and spice and the first thing that came to…
-

Instant Pot Hatch Chili Shredded Chicken
We love a quick and easy taco night as a tasty way to get dinner on the table. Hatch chiles are in season in Colorado and we try our best to use them as much as we can this time of year and really soak up the smoky, spicy flavor they bring to a dish.…
-

Grilled Lemon Chicken Kabobs
You probably know by now that we love cooking on the grill during the summer. We love versatile entrees that we can mix and match with other menu items, and these lemon chicken kabobs are a great addition to any cooking routine. We go back to this recipe over and over because it ticks all…
-

Bruschetta Chicken
Summer is officially on the way and with it comes tomato season! We love to grow our own tomatoes and pick them up from the farmers market. You can not beat the taste of a fresh, seasonal tomato. We wanted to fancy up a simple chicken recipe and opted to made a “bruschetta” style grilled…
-

Baked Gnocchi with Peas, Mint, & Ricotta
If you are a Trader Joe’s fan, you know that their cauliflower gnocchi has a cult-like following. The gnocchi tastes light and fluffy and is a healthy alternative compared to the potato original. The one problem that we have with the gnocchi is that they are nearly impossible to cook correctly. They go from cooked…
-

Clams with Fennel & Chorizo
For as much as we love to cook, seafood is one of the types of food that we don’t cook a lot of at home. It’s sort of an odd observation because we LOVE seafood. Calli will host an annual lobster dinner every summer for her birthday, but if we aren’t splurging on lobsters and…
-

Sesame Ginger Salmon
This recipe is one of our favorites for an easy, weeknight dinner option. “Bowls” are a great way to mix and match what we have in the kitchen to form a complete dinner. The centerpiece of this bowl is the salmon – it is salty, spicy, and exploding with fresh Asian flavors. Marinating the salmon…
-

Cauliflower Adobo Tacos
Recently we were at a brewery in Columbus that had the best honey adobo chicken fingers. They were so tasty that we have talked about them at least a half a dozen times since we first ate them. When brainstorming what we wanted to make for Cinco de Mayo this year, we knew we wanted…
-

Chilean Sea Bass with Tomato Herb Butter
Thanks to a general boredom of eating the same thing over and over and wanting to provide fresh content for Tuck & Tate, we are constantly trying out new and different variations of recipes. As our husbands like to say, we rarely eat the same thing twice! As much as we love fish, we realized…
-
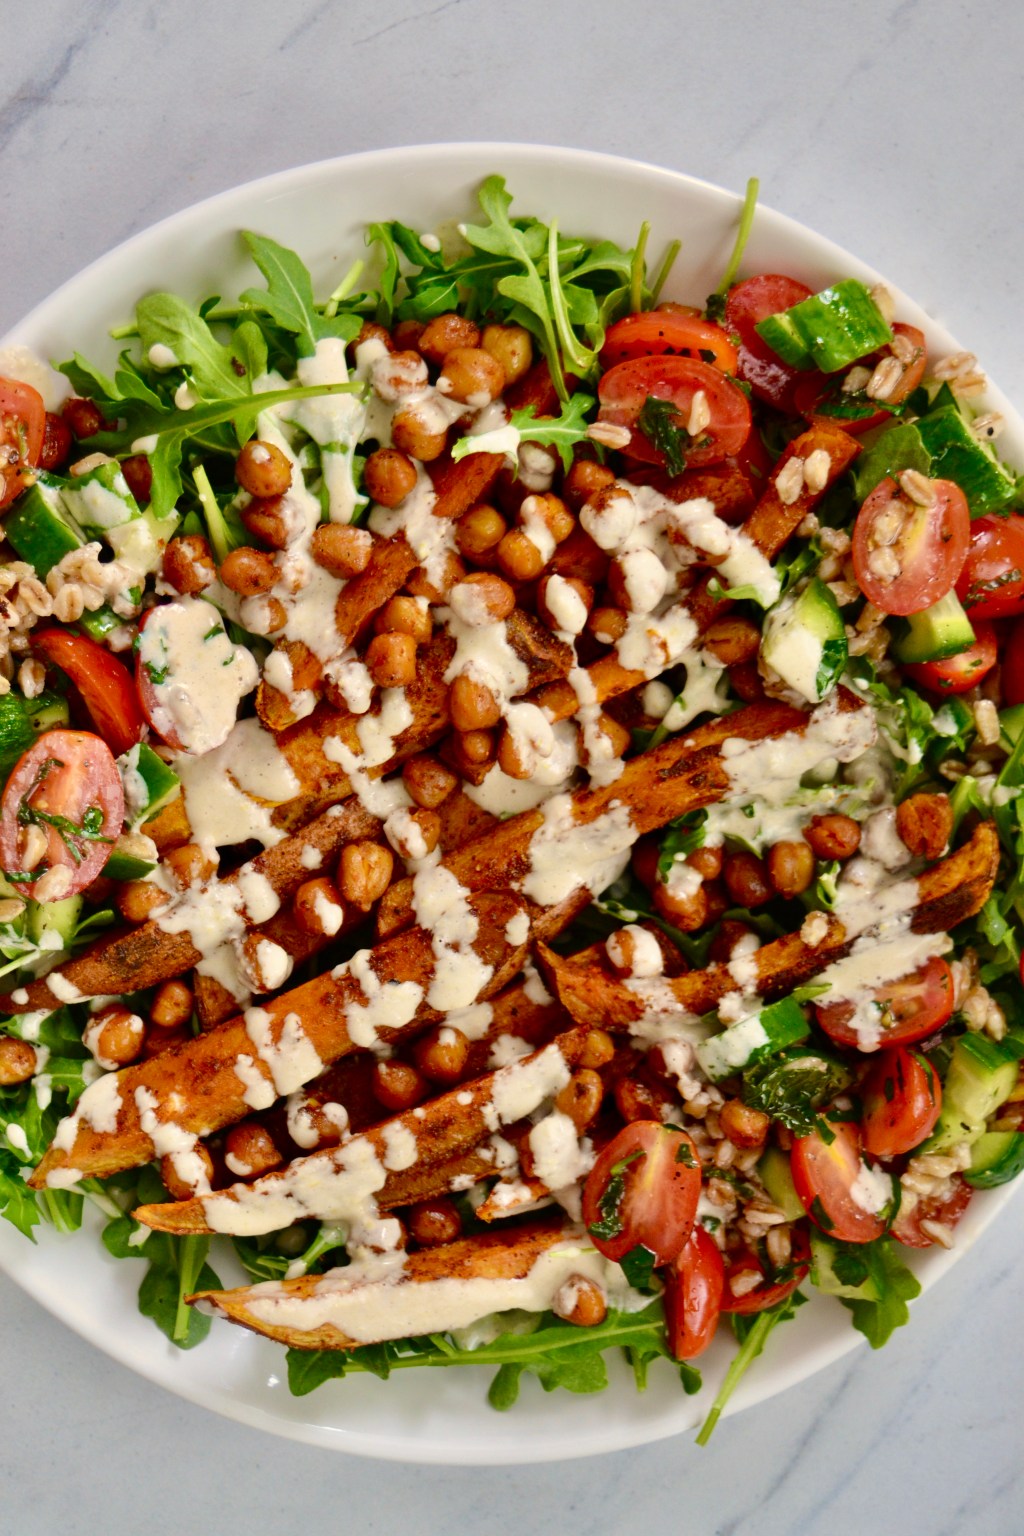
Sweet Potato Shawarma Bowls
Thanks to our love of cooking, one of the gifts we most often receive are oils and spices from our friends and family after they go on a vacation. Over the years we have accumulated paprika from Hungary, tzatziki blends from Greece, olive oil from Italy, and more red spices from the Middle East than…
