Category: Entrees
-
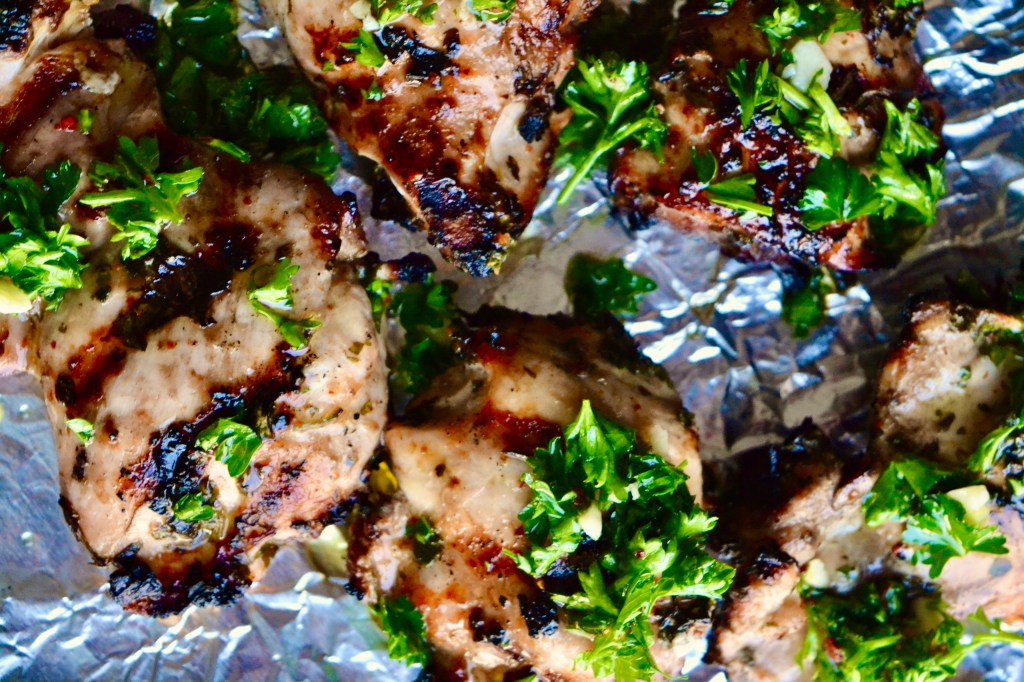
Grilled Chicken Thighs with Chimichurri
The weather is getting warmer by the day, which means that it is almost grill season in the Lavarnway and Cardillo houses. We love cooking on the grill as an easy way to get outside and add a little smoky char to whatever we are cooking. If you’ve been around for a while, you know…
-

Lemon Dill Salmon
We love making salmon and eat it pretty regularly but have found that we don’t typically vary the style of how we cook it. This is very un-Tuck&Tate of us, as we pretty much never cook the same recipe twice in order to constantly create new recipes for the blog. For whatever reason we have…
-
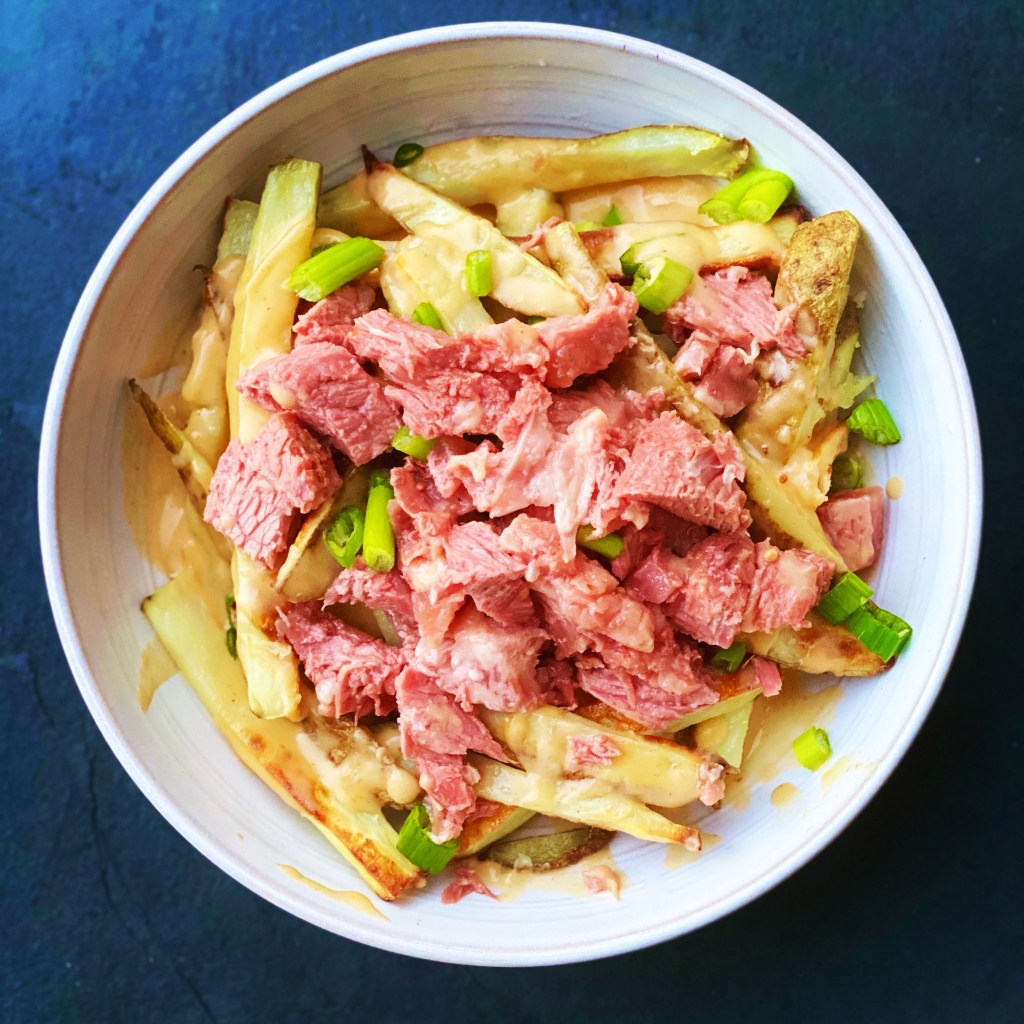
Corned Beef & Beer Cheese Loaded Fries
St. Patrick’s Day celebrations in Colorado are going to look a little bit different this year since we are battling over 3 feet of snow from the weekend! For those of us who are planners, you may have purchased a corned beef knowing the big day was coming up and are now considering how to…
-
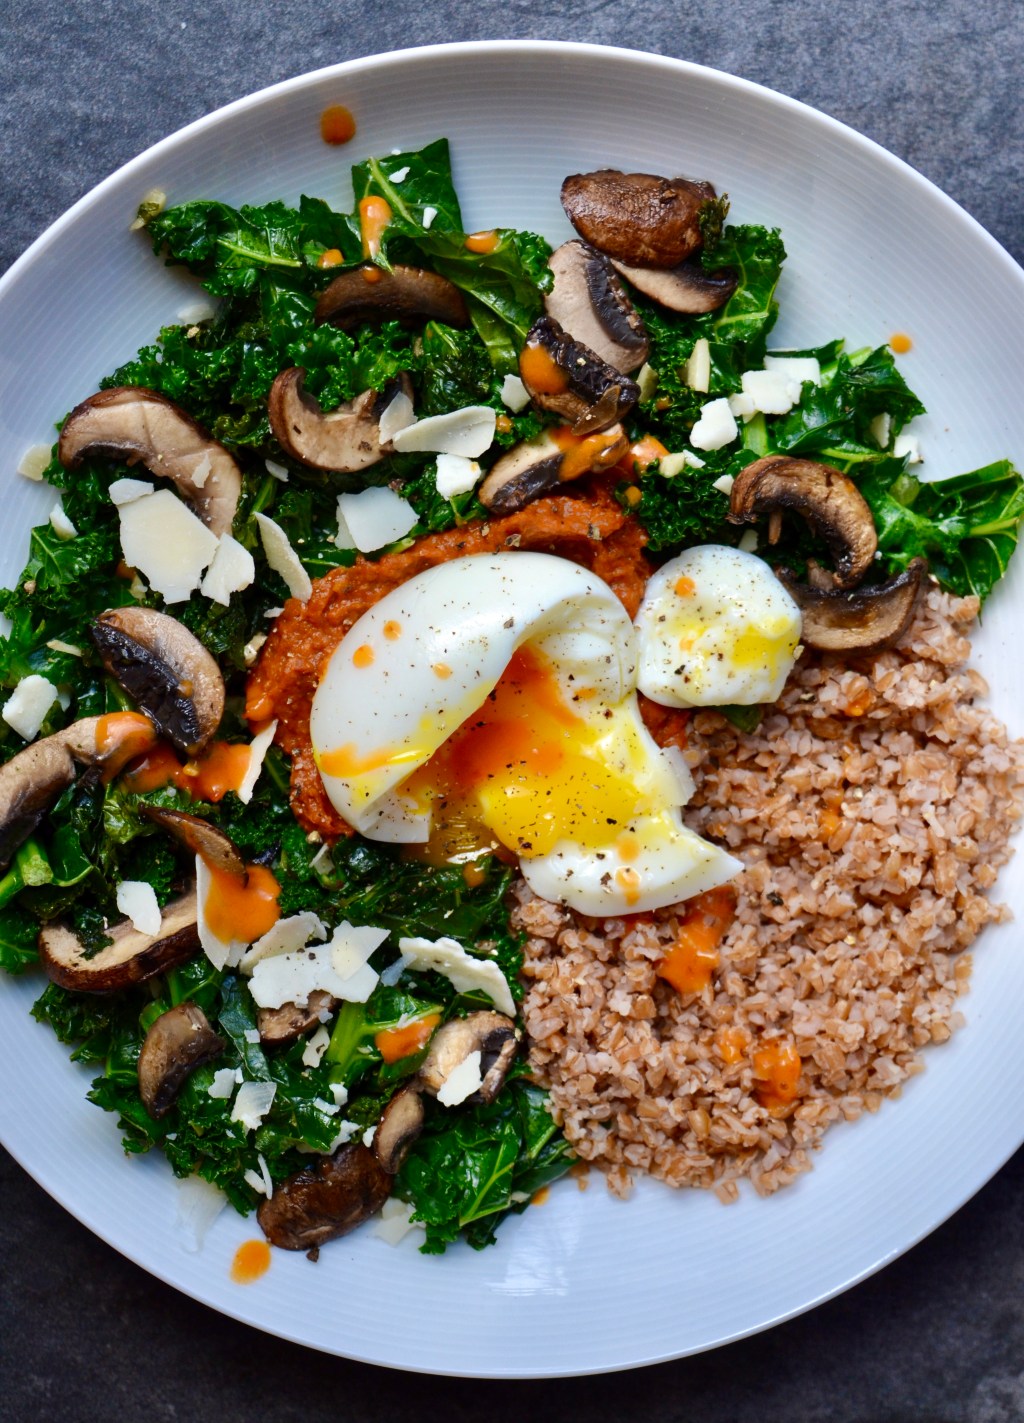
Breakfast For Dinner Bowls
“Breakfast For Dinner Bowls” used to be our fancy way of saying, holy crap we didn’t buy groceries and have absolutely no idea what’s for dinner. This is precisely what has happened on a number of occasions; so many, in fact, that Breakfast For Dinner Bowls have now become a request instead of an accident.…
-

Semi-Homemade Fish Tacos
Last week we shared one of our favorite recipes for Spicy Slaw. We love this recipe because it can easily be paired with burgers, tacos, and even eaten plain as a salad. Today we are sharing one of our favorite uses of the slaw with this recipe for semi-homemade fish tacos. We use frozen fish…
-

Tempeh Buddha Bowls with Peanut Sauce
We love a good weekend of splurge eating but after a few days of decadence we like to reign it back a bit and get our health on track to start the week. Monday’s tend to be the day for clean eating in our houses, which means incorporating a lot of veggies to our menu.…
-

Honey Sriracha Shrimp
A lot of times when people think of food bloggers, they imagine that every meal a blogger cooks is a multi-coursed spectacle with fancy ingredients. Our husbands would be the first ones to tell you that that couldn’t be further from the truth. Many days, between balancing our blog and our schedules, our goal is…
-

Braised Short Rib Stew With Cheesy Grits
We love braised short ribs in the winter; they are rich and hearty and the ultimate cold weather treat. They are not on our weekly menu very often because they take a long time to cook to get the meat fall off the bone tender. This really is a recipe for a cold weekend day…
-

Cauliflower & Chickpea Enchiladas
We have seen a lot of New Year’s resolution posts on our social media accounts, and one of the most common food goals people are talking about is the desire to eat more plant based. Eating plant based has a number of benefits for our bodies and the environment; including a reduced carbon footprint and…
-

Larb Lettuce Wraps & Bowls
Larb is a traditional meat salad found in Laos and Thailand. It is one of our favorite dishes to order on a Thai menu when we are trying to eat healthy because it’s light and really refreshing. What makes this dish bright are the many herbs and spices mixed into the meat mixture. It is…
