Tag: Vegetarian
-

Baked Gnocchi with Peas, Mint, & Ricotta
If you are a Trader Joe’s fan, you know that their cauliflower gnocchi has a cult-like following. The gnocchi tastes light and fluffy and is a healthy alternative compared to the potato original. The one problem that we have with the gnocchi is that they are nearly impossible to cook correctly. They go from cooked…
-

Cauliflower Adobo Tacos
Recently we were at a brewery in Columbus that had the best honey adobo chicken fingers. They were so tasty that we have talked about them at least a half a dozen times since we first ate them. When brainstorming what we wanted to make for Cinco de Mayo this year, we knew we wanted…
-
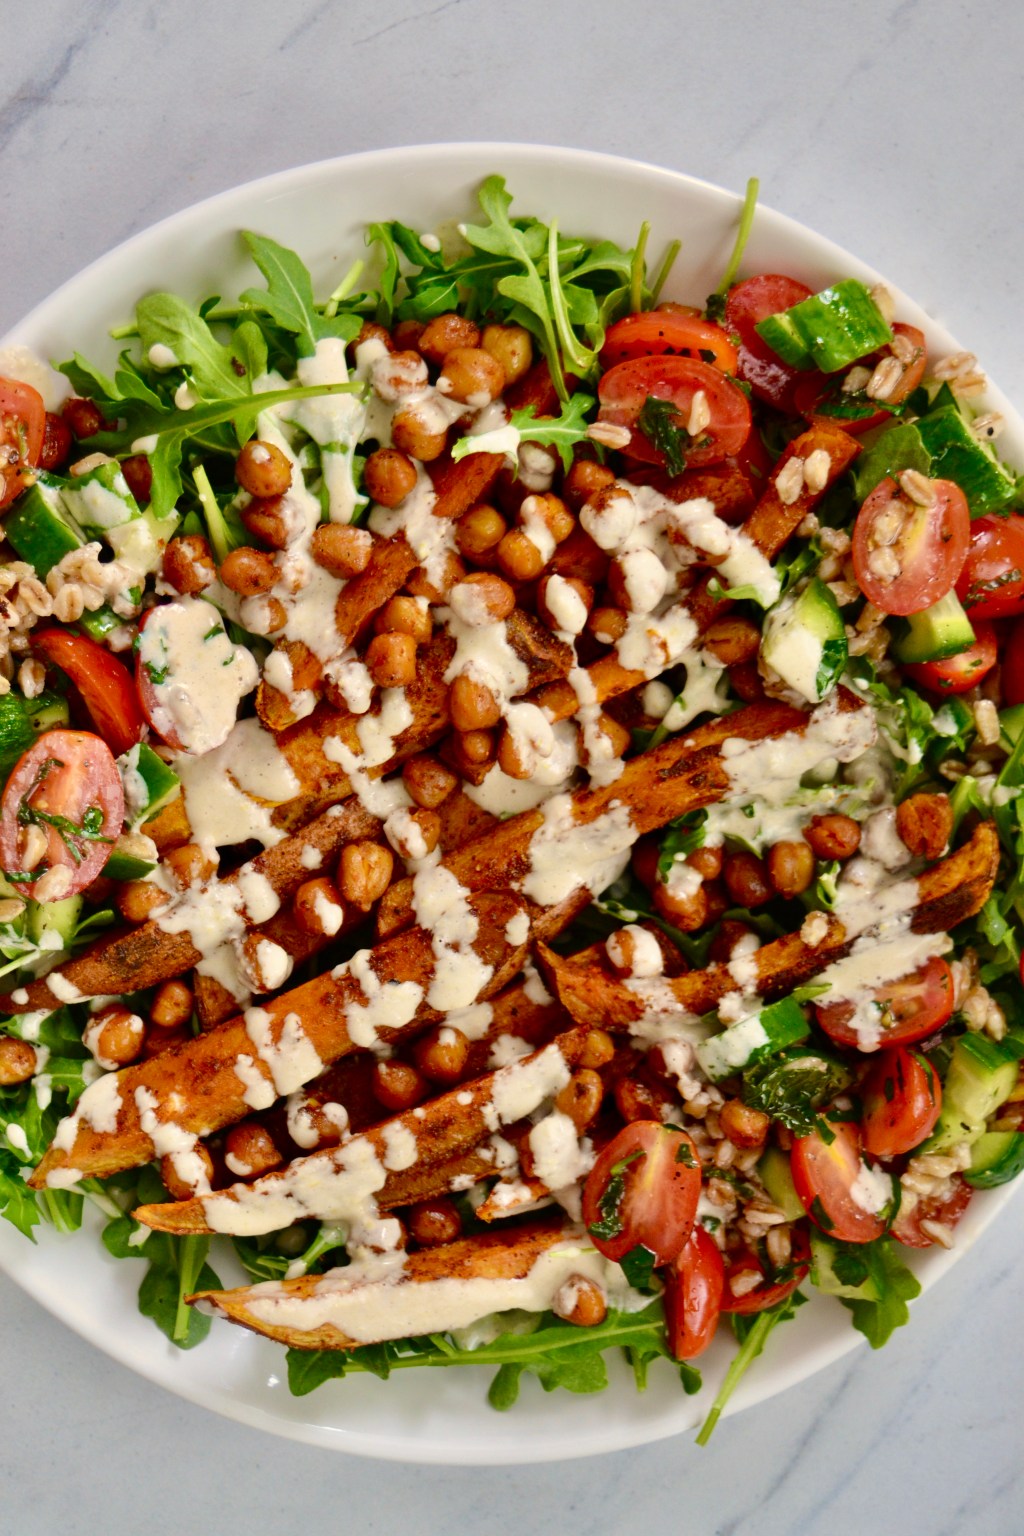
Sweet Potato Shawarma Bowls
Thanks to our love of cooking, one of the gifts we most often receive are oils and spices from our friends and family after they go on a vacation. Over the years we have accumulated paprika from Hungary, tzatziki blends from Greece, olive oil from Italy, and more red spices from the Middle East than…
-

Tempeh Buddha Bowls with Peanut Sauce
We love a good weekend of splurge eating but after a few days of decadence we like to reign it back a bit and get our health on track to start the week. Monday’s tend to be the day for clean eating in our houses, which means incorporating a lot of veggies to our menu.…
-

Cauliflower & Chickpea Enchiladas
We have seen a lot of New Year’s resolution posts on our social media accounts, and one of the most common food goals people are talking about is the desire to eat more plant based. Eating plant based has a number of benefits for our bodies and the environment; including a reduced carbon footprint and…
-

Oktoberfest Pumpkin Chili
We love experimenting with pumpkin recipes in the fall, and surprisingly have ended up liking the renditions of savory dishes more than the sweet ones! We have been making versions of this pumpkin chili for years now, and this latest is our favorite yet. We have combined all things “October” in this hearty chili- Oktoberfest…
-

Semi-Homemade Vegan Burrito Bowls
Tuck’s dad watched the documentary “Game Changers” on Netflix a few weeks ago and has been trying to eat vegan as much as possible since. Inspired by our usual Chipotle order, we made these tofu burrito bowls. We love the taste and texture of the tofu – it is loaded with spices and crumbled to…
-
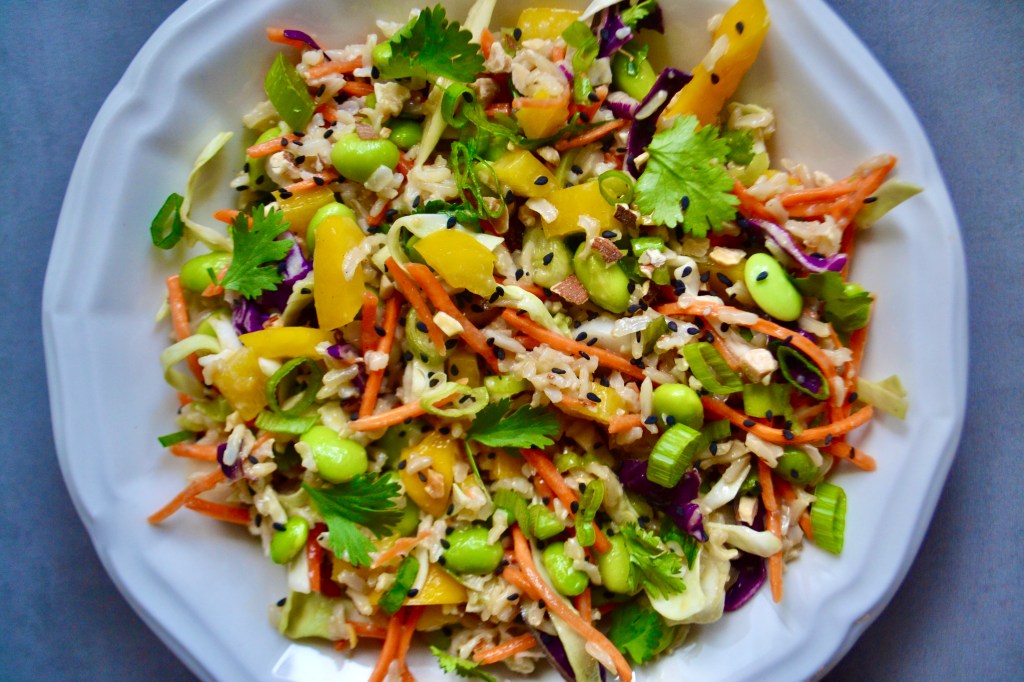
Edamame Rice Salad
We weren’t exactly sure what to name this dish… is it a carb? Is it a salad? Is it a vegetarian entree? It’s a little bit of everything, thanks to an abundance of veggies in this dish. Cooking at home for nearly every meal since March has given us a chance to experiment with recipes…
-
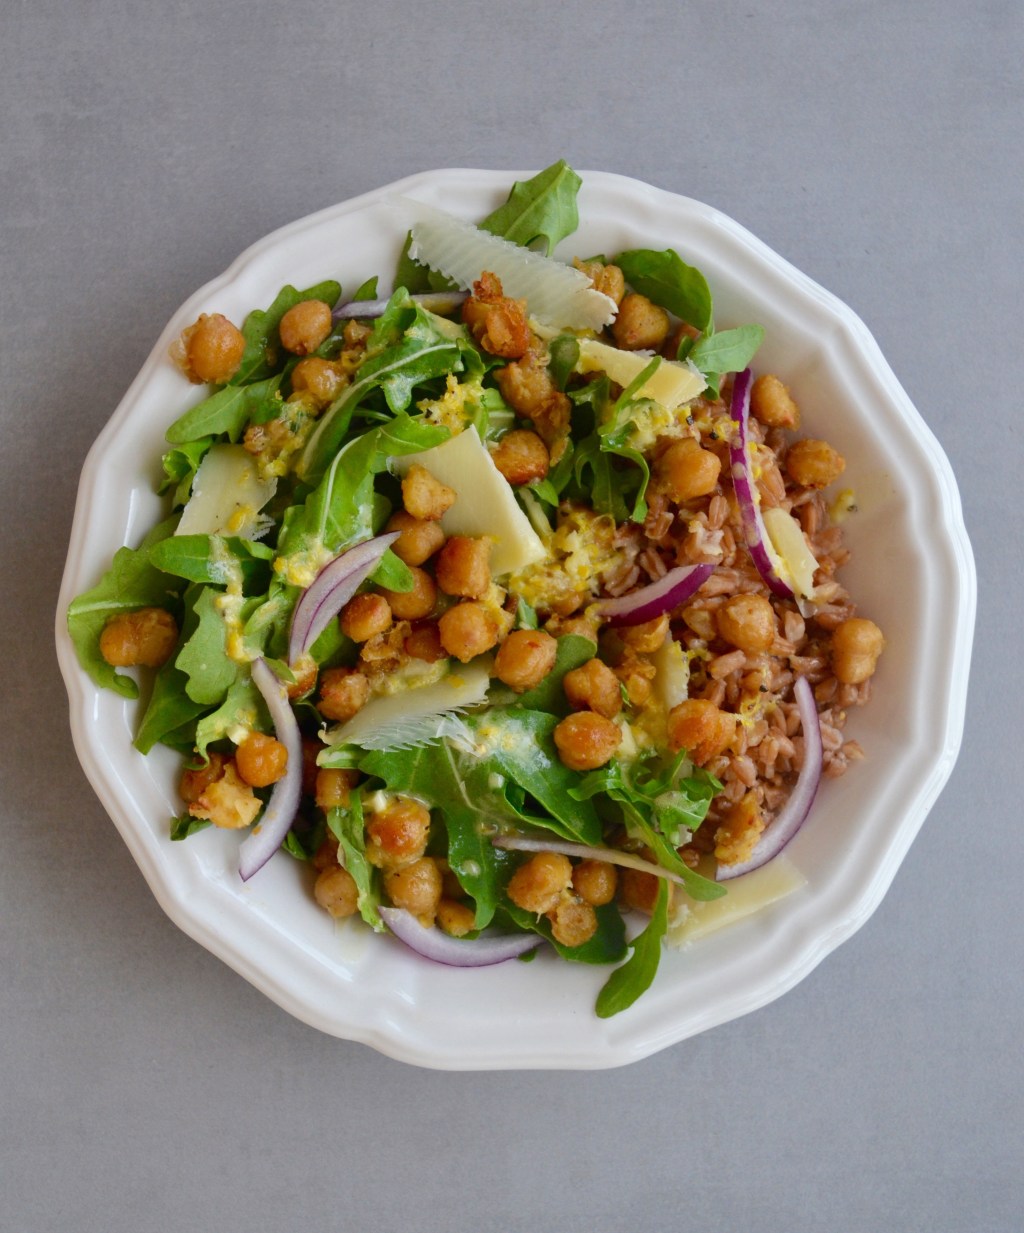
Crispy Chickpea Grain Bowls
Tuck’s family has been on the road for about six weeks now, moving apartments every two weeks because baseball season likes to keep us on our toes! Part of the challenge of “settling” somewhere, even though we don’t know how long we are staying for, is buying the correct amount of groceries. If we buy…
-

Farmers’ Market Brown Butter Orzo
Our inspiration for this recipe came from a weekend trip to the farmers’ market. There are so many fresh vegetables available this time of year, and we took a few things we bought and turned them into an orzo salad. This pasta has everything we love about summer- zucchini, tomatoes, and fresh corn- combined and…
