Category: Recipes
-
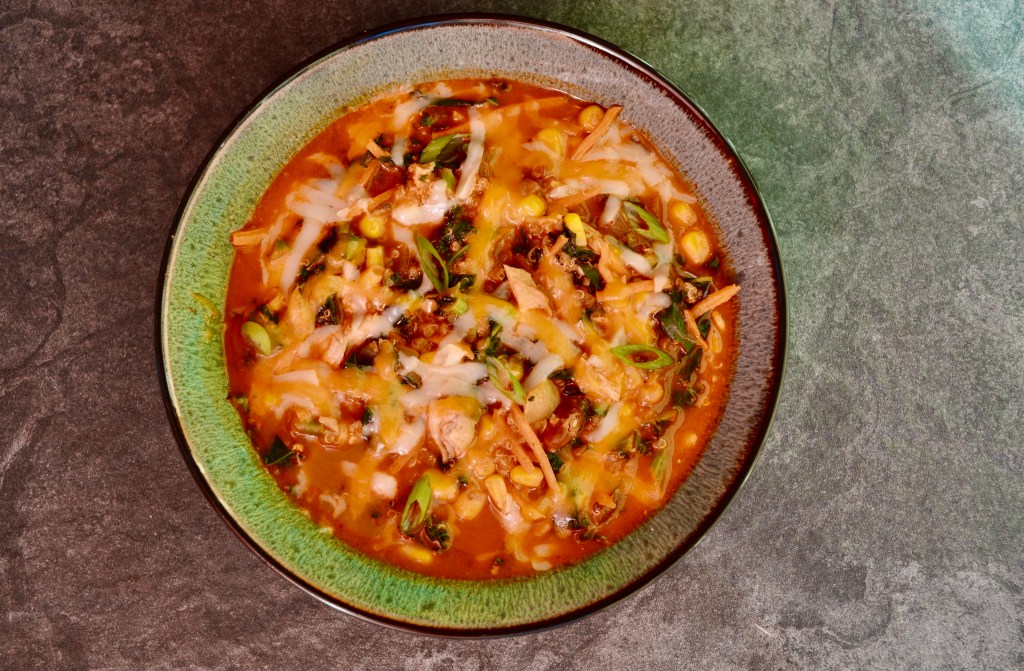
Chicken Enchilada Soup
After just a few days of chilly weather, we are ready to pack it in and fully commit to soup season. There is something so comforting about a big bowl of soup or chili waiting on the stove top come dinnertime. We particularly like soups that have enough components in them to count as a…
-

Browned Butter Rice Krispies
You may see this post and think “are they serious? More dessert on Halloween?!” Our short answer is YES! While the kids are out trick or treating, we like to have this easy and elevated dessert for the adults. It is wild how a simple step of browning the butter completely changes the taste of…
-

Pumpkin Mac & Cheese
One of our favorite childhood memories of Halloween is having a special dinner of mac and cheese and “octopus” hot dogs. We would slam down that dinner and run out the door to start trick or treating. In honor of that tradition, we created this recipe for pumpkin mac and cheese. It is an adult…
-

Sweet Potato Jalapeno Popper Tacos
This recipe came to be from a blissful kitchen mix-up when Jamie accidentally bought ingredients for two separate recipes she planned to cook. The original recipe we wanted to make was for sweet potato and pineapple tacos. We knew all of that starchy sweetness needed salt and spice and the first thing that came to…
-

Spinach & Feta Turkey Burgers
This is the recipe that changed the turkey burger game for us. Let’s face it, turkey burgers are notoriously dry. The meat is so lean that it often doesn’t lend well to grilling unless you incorporate additional fat like in our spicy turkey burger recipe. Instead of adding chicken sausage, we have incorporated feta and…
-
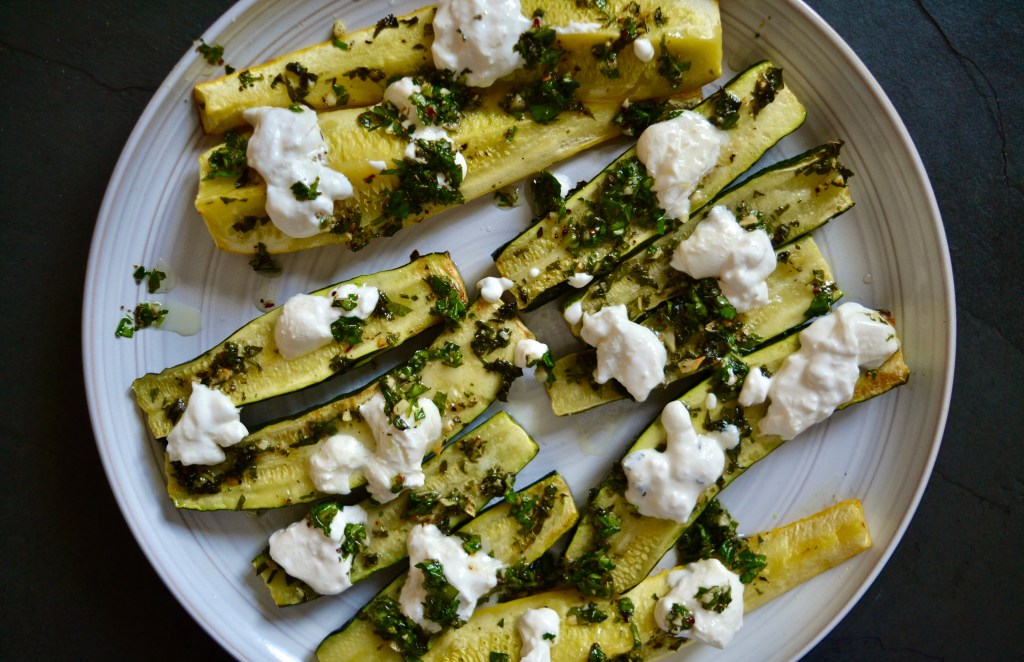
Zucchini with Burrata & Garden Herb Gremolata
Fall is quickly approaching and as the weather starts to chill we are trying to use up our abundance of garden veggies! This dish is simple in preparation but complex with fresh flavors thanks to the incorporation of herbs we grew in our summer garden. We have chosen a gremolata as the “dressing” for this…
-

Arugula & Burrata Flatbread
This flatbread is one of our go-to recipes for summer entertaining or a quick weeknight dinner. With just a few simple ingredients, this recipe bursts with flavor from the creamy burrata, citrusy lemon oil, and fresh basil. We top it with lots of peppery arugula (more than pictured) so that we have a salad and…
-

Instant Pot Hatch Chili Shredded Chicken
We love a quick and easy taco night as a tasty way to get dinner on the table. Hatch chiles are in season in Colorado and we try our best to use them as much as we can this time of year and really soak up the smoky, spicy flavor they bring to a dish.…
-

Semi-Homemade Hot Dog Bar
Entertaining does not have to be fancy to be delicious and delightful to your guests. We love having friends over in the summer for a backyard barbecue, and instead of spending hours prepping for a fancy feast, we like to have a really fun menu like this Semi-Homemade Hot Dog Bar. We love that we…
-

Grilled Supreme Pizza
Grilled pizza is a staple for us and is constantly popping up on our weekly meal rotation. We love how easy and versatile the base recipe is so that we can mix and match ingredients with the season and our preferences. For this week’s recipe we were craving a classic supreme pizza. We love the…
