Tag: mexican
-
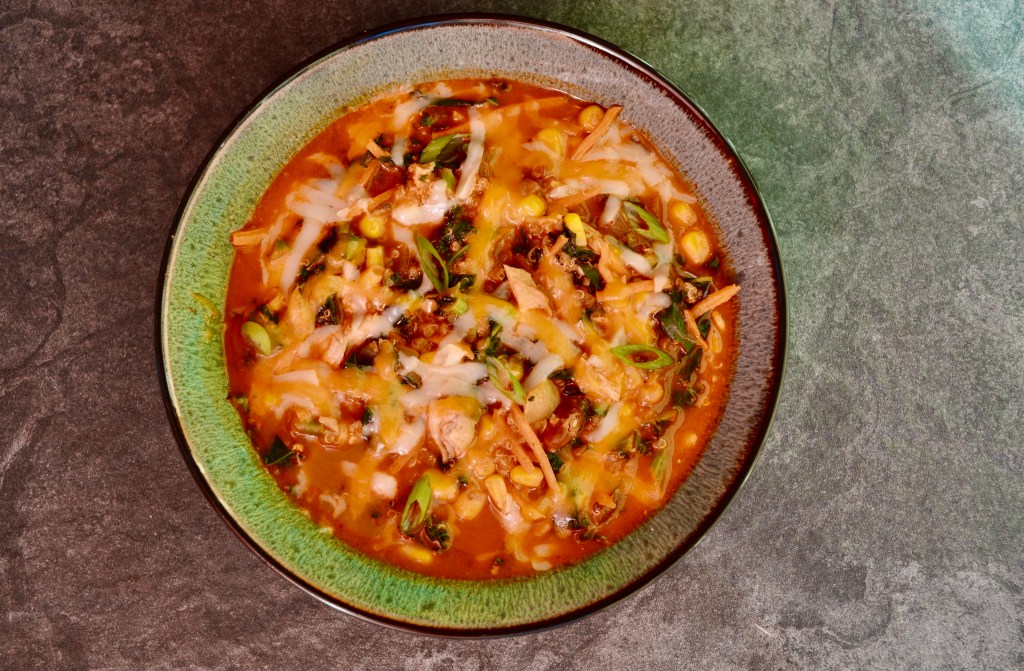
Chicken Enchilada Soup
After just a few days of chilly weather, we are ready to pack it in and fully commit to soup season. There is something so comforting about a big bowl of soup or chili waiting on the stove top come dinnertime. We particularly like soups that have enough components in them to count as a…
-

Sweet Potato Jalapeno Popper Tacos
This recipe came to be from a blissful kitchen mix-up when Jamie accidentally bought ingredients for two separate recipes she planned to cook. The original recipe we wanted to make was for sweet potato and pineapple tacos. We knew all of that starchy sweetness needed salt and spice and the first thing that came to…
-

Instant Pot Hatch Chili Shredded Chicken
We love a quick and easy taco night as a tasty way to get dinner on the table. Hatch chiles are in season in Colorado and we try our best to use them as much as we can this time of year and really soak up the smoky, spicy flavor they bring to a dish.…
-
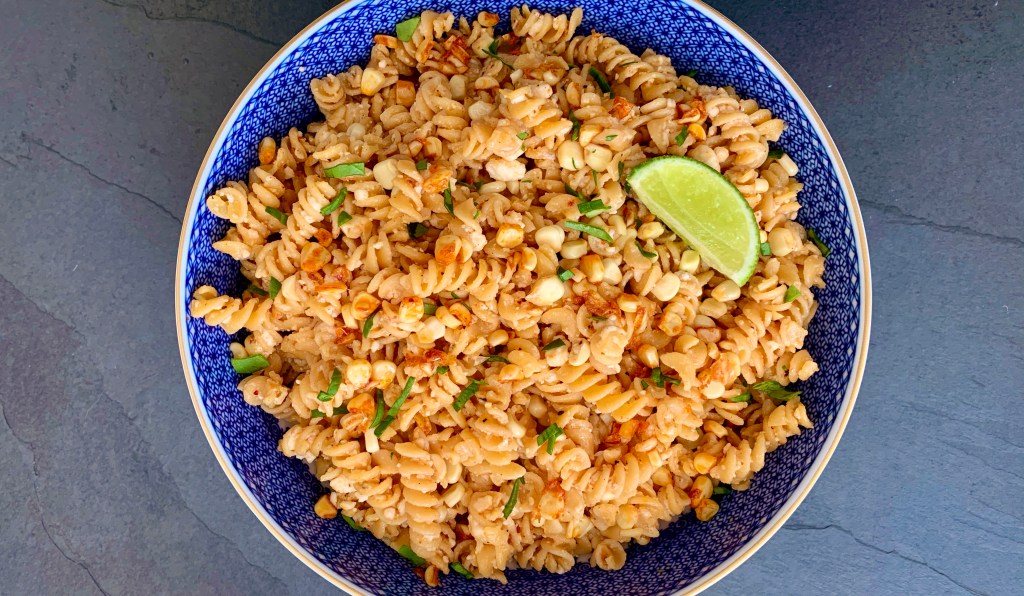
Elote Pasta Salad
Elote (Mexican street corn) is one of our absolute favorite side dishes to have during the summer. We have yet to find anyone that doesn’t like it and will find an excuse to squeeze it into any dinner menu that we plan. To change things up for our Memorial Day menu, we wanted to take…
-

Cauliflower Adobo Tacos
Recently we were at a brewery in Columbus that had the best honey adobo chicken fingers. They were so tasty that we have talked about them at least a half a dozen times since we first ate them. When brainstorming what we wanted to make for Cinco de Mayo this year, we knew we wanted…
-

Spicy Chorizo Queso
Last week Justin Timberlake said “it’s gonna be May” and just like that, here we are rolling into Cinco de Mayo. Last year’s cinco celebrations were a bit bleak thanks to Covid quarantine and a general dismal state of mind. We are feeling much more festive this year and ready for any type of party…
-

Semi-Homemade Fish Tacos
Last week we shared one of our favorite recipes for Spicy Slaw. We love this recipe because it can easily be paired with burgers, tacos, and even eaten plain as a salad. Today we are sharing one of our favorite uses of the slaw with this recipe for semi-homemade fish tacos. We use frozen fish…
-

Seven Layer Dip Nachos
We have arrived at Super Bowl week! We have always loved celebrating the Super Bowl with huge food spreads, lots of friends, and family, but this year is most exciting for Kidd because the Tampa Bay Buccaneers will be playing. Kidd has been a Bucs fan through thick and thin, so this year we have…
-

Shrimp Taco Salad
We love mixing up our protein options by incorporating fish and seafood into our menu planning. This salad is the perfect way to bring shrimp to your lunch table in under 30 minutes. Tajin is a Mexican seasoning blend of chili powder, lime and salt. We eat it on just about anything – fruit included!…
-

Cauliflower & Chickpea Enchiladas
We have seen a lot of New Year’s resolution posts on our social media accounts, and one of the most common food goals people are talking about is the desire to eat more plant based. Eating plant based has a number of benefits for our bodies and the environment; including a reduced carbon footprint and…
