Tag: healthy recipes
-

Grilled Lemon Chicken Kabobs
You probably know by now that we love cooking on the grill during the summer. We love versatile entrees that we can mix and match with other menu items, and these lemon chicken kabobs are a great addition to any cooking routine. We go back to this recipe over and over because it ticks all…
-

Chilean Sea Bass with Tomato Herb Butter
Thanks to a general boredom of eating the same thing over and over and wanting to provide fresh content for Tuck & Tate, we are constantly trying out new and different variations of recipes. As our husbands like to say, we rarely eat the same thing twice! As much as we love fish, we realized…
-
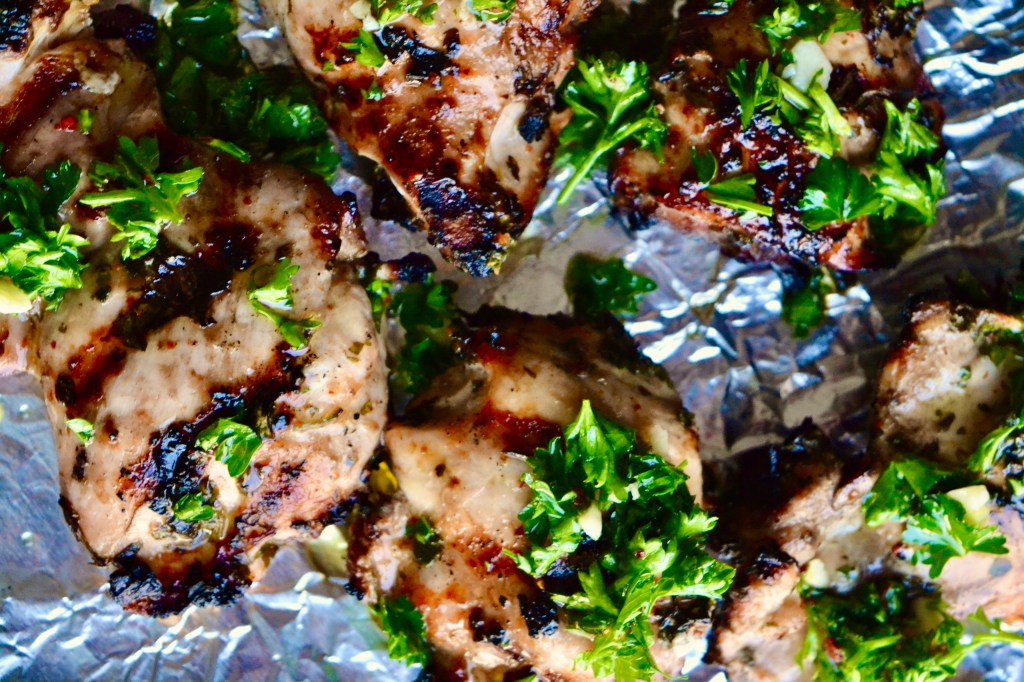
Grilled Chicken Thighs with Chimichurri
The weather is getting warmer by the day, which means that it is almost grill season in the Lavarnway and Cardillo houses. We love cooking on the grill as an easy way to get outside and add a little smoky char to whatever we are cooking. If you’ve been around for a while, you know…
-
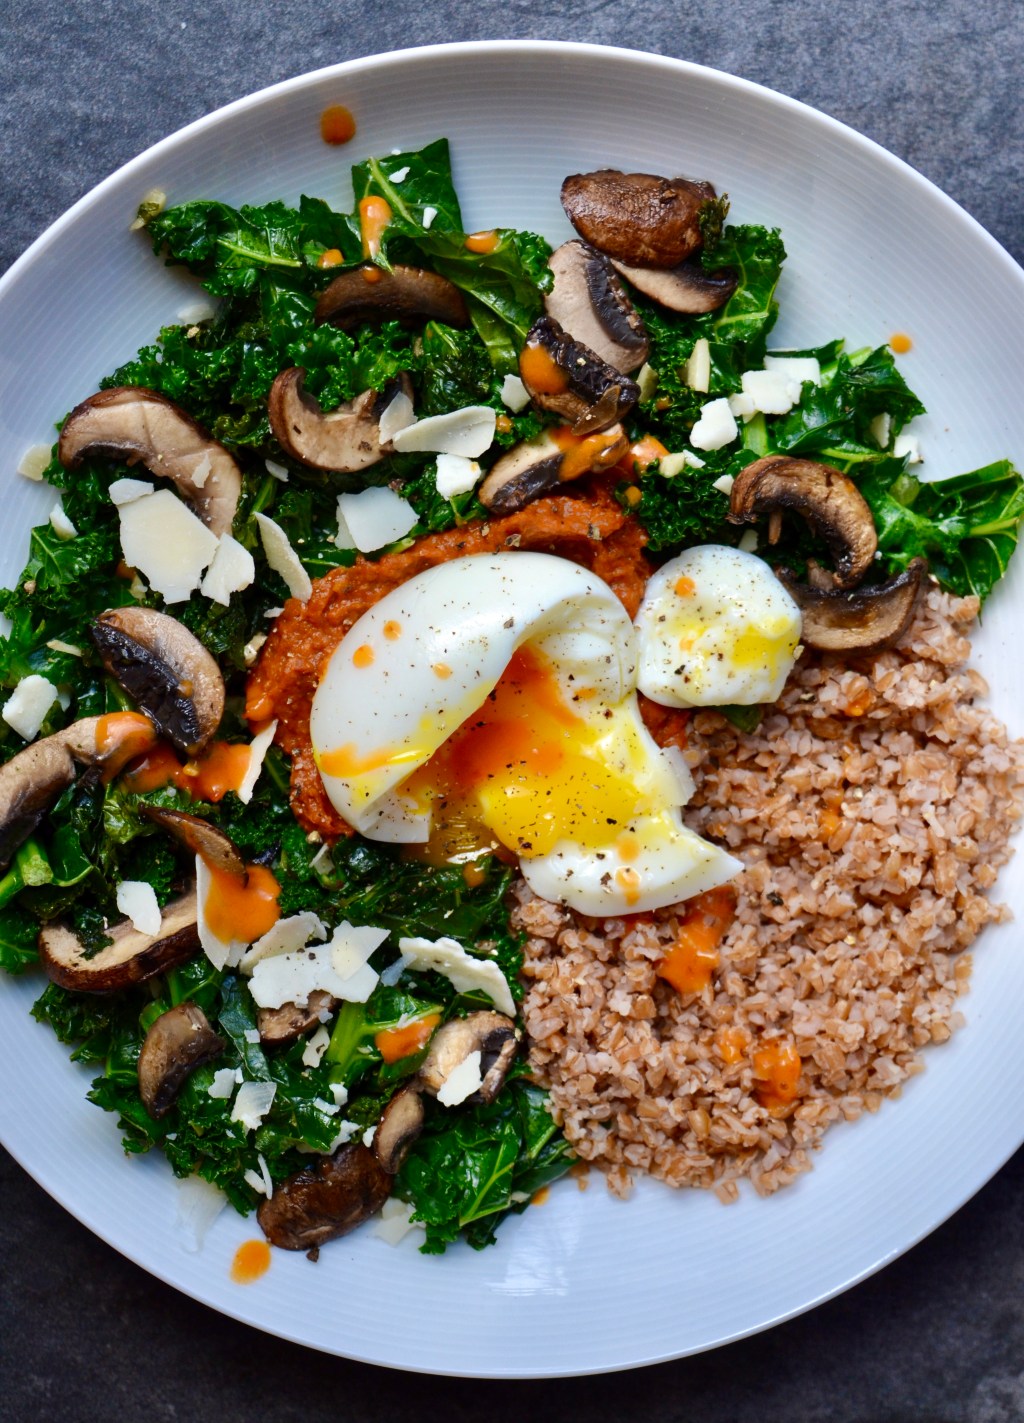
Breakfast For Dinner Bowls
“Breakfast For Dinner Bowls” used to be our fancy way of saying, holy crap we didn’t buy groceries and have absolutely no idea what’s for dinner. This is precisely what has happened on a number of occasions; so many, in fact, that Breakfast For Dinner Bowls have now become a request instead of an accident.…
-

Rick and Cathy’s Chopped Salad
When we told our parents that we were recreating “Rick’s” chopped salad for the blog, both of our parents insisted that this was actually “Cathy’s” chopped salad. Since the owner of the salad is an even 2 to 2 split vote in our house, they both are getting credit. Welcome to the blog, mom! We…
-

Sausage, White Bean & Greens Soup
If you follow us in Instagram, you know that we started getting produce deliveries from Misfits Market a few weeks ago. We love picking different produce and challenging ourselves to find inventive ways to use it. Insert this soup recipe. When in doubt, soup is the easiest way to use up a bunch of vegetables…
-
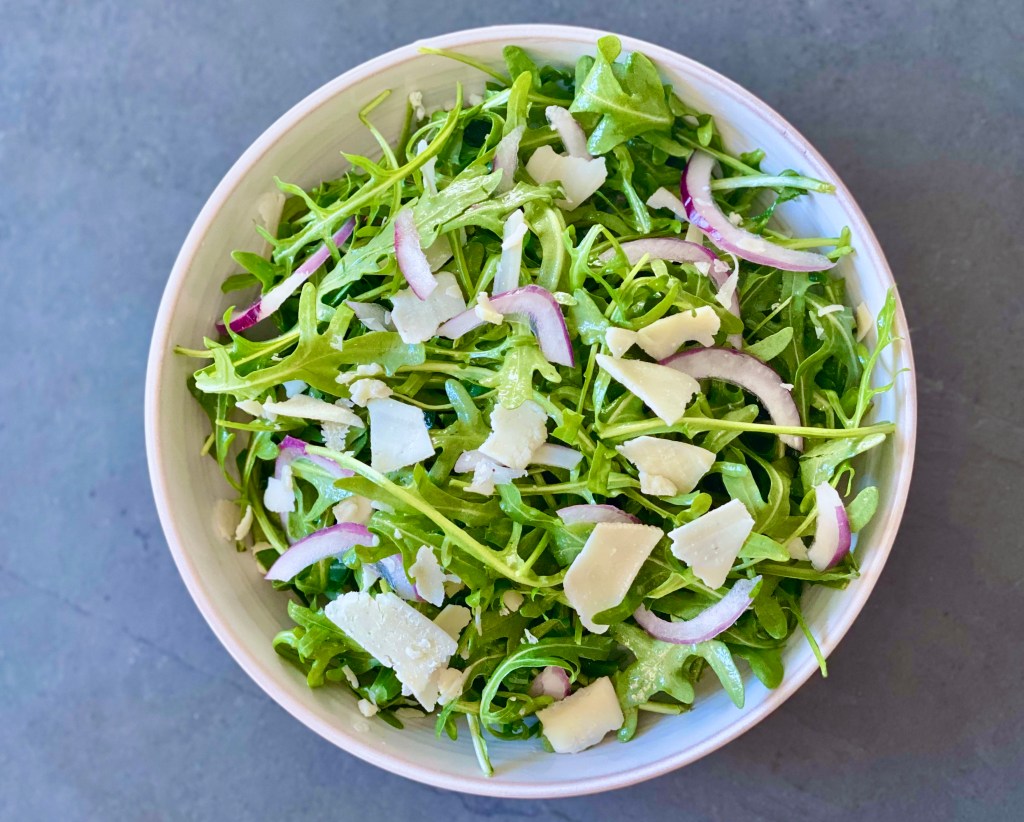
Super Simple Arugula Salad
Whenever we are cooking a complex main entrée for dinner, we like to keep the other dishes simple and easy to put together. This recipe will come in handy for just that – bringing you a great salad that is made in under 10 minutes. Salads don’t always need to have a long list of…
-

Shrimp Taco Salad
We love mixing up our protein options by incorporating fish and seafood into our menu planning. This salad is the perfect way to bring shrimp to your lunch table in under 30 minutes. Tajin is a Mexican seasoning blend of chili powder, lime and salt. We eat it on just about anything – fruit included!…
-

Tortellini Minestrone
This recipe for minestrone soup has been in our winter rotation for almost a decade. Minestrone is something that we usually wouldn’t order at a restaurant because quite frankly, we are busy eating pasta and other Italian dishes we crave. We love to make this soup at home because we can pack it with vegetables…
-

Larb Lettuce Wraps & Bowls
Larb is a traditional meat salad found in Laos and Thailand. It is one of our favorite dishes to order on a Thai menu when we are trying to eat healthy because it’s light and really refreshing. What makes this dish bright are the many herbs and spices mixed into the meat mixture. It is…
