Category: Pork
-

Sweet Potato Jalapeno Popper Tacos
This recipe came to be from a blissful kitchen mix-up when Jamie accidentally bought ingredients for two separate recipes she planned to cook. The original recipe we wanted to make was for sweet potato and pineapple tacos. We knew all of that starchy sweetness needed salt and spice and the first thing that came to…
-
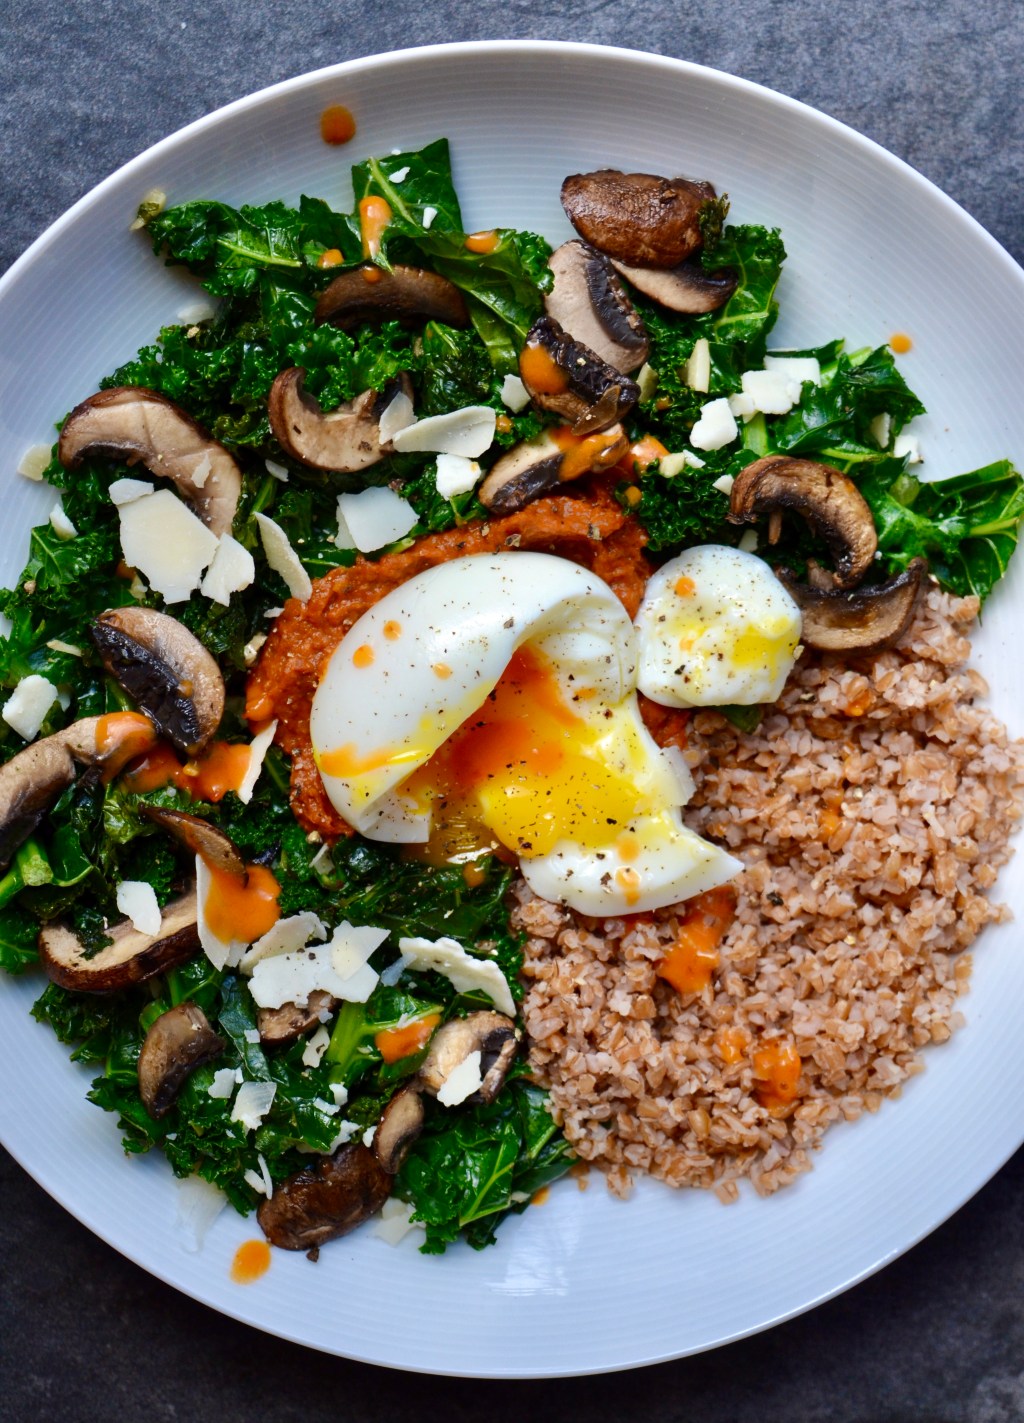
Breakfast For Dinner Bowls
“Breakfast For Dinner Bowls” used to be our fancy way of saying, holy crap we didn’t buy groceries and have absolutely no idea what’s for dinner. This is precisely what has happened on a number of occasions; so many, in fact, that Breakfast For Dinner Bowls have now become a request instead of an accident.…
-

Larb Lettuce Wraps & Bowls
Larb is a traditional meat salad found in Laos and Thailand. It is one of our favorite dishes to order on a Thai menu when we are trying to eat healthy because it’s light and really refreshing. What makes this dish bright are the many herbs and spices mixed into the meat mixture. It is…
-

Scary Salt & Pepper Skeleton Ribs
Ribs are one of the recipes that we have struggled with over the years. It is so easy to overcook and undercook them, particularly on the grill. A few years ago we purchased Nadine Levy Redzepi’s cookbook, Downtime, and made her version of oven baked ribs. Once we made them, we never looked back. The…
-

Mapo Tofu
We have been seeing a ton of recipes online lately for Mapo Tofu. We have our go-to favorite place in Denver for getting very good, traditional Sichuan cuisine (Shanghai Kitchen) but had not tried Mapo Tofu until recently. We ordered it, immediately fell in love, and knew we wanted to recreate it at home. This…
-
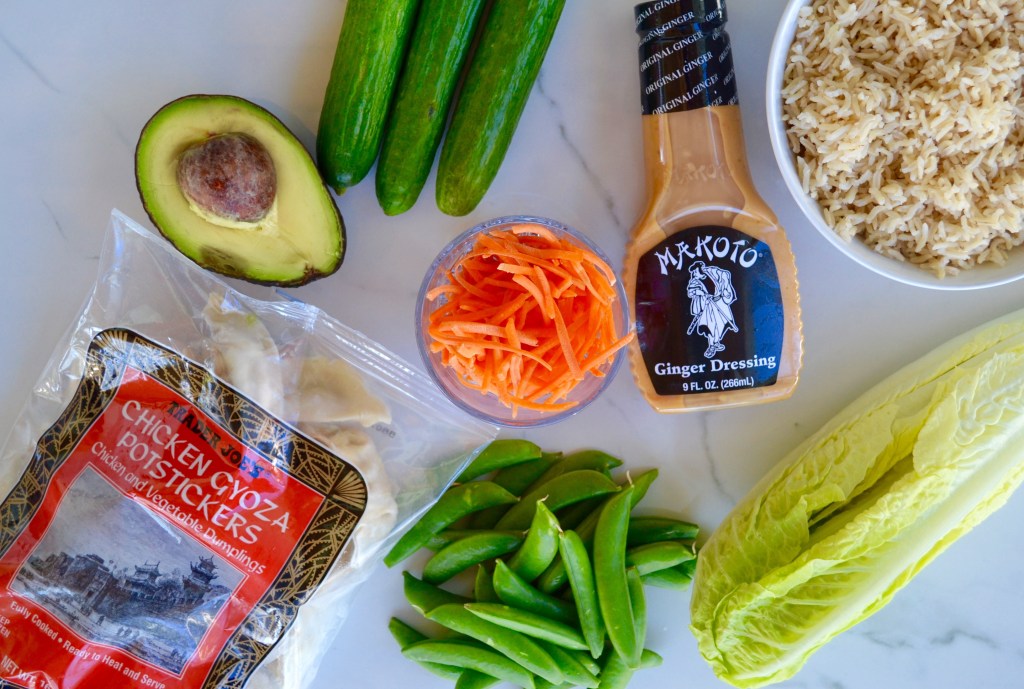
Semi-Homemade Potsticker Salad Bowls
If you know us personally, you know that we love dumplings something fierce. At any given time, you can venture to Tuck or Tate’s homes and find potstickers in the freezer. They are the ultimate answer to “oh crap, what is for dinner?!” We have created these Potsticker Salad Bowls by combining two of our…
-

Instant Pot BBQ Pulled Pork
Pulled pork has become a go-to week night recipe in our house. You can make it in the Crock Pot or Instant Pot and you really get your bang for your buck with this one. We love it because it is pretty hands off and produces a quantity that is large enough for a crowd…
